Sister of Battle Cosplay
So today I decided it was about time I started work on my Sister of Battle cosplay. This is a long term project I took upon myself after seeing a lot of art work of the Sister’s of Battle from the Warhammer universe and as I have never worked with armor before this will be a massive learning curve. I decided to start with something I have had practice in; prop making and chose to make this process into a two part blog, part one is the build, part two will be the painting.
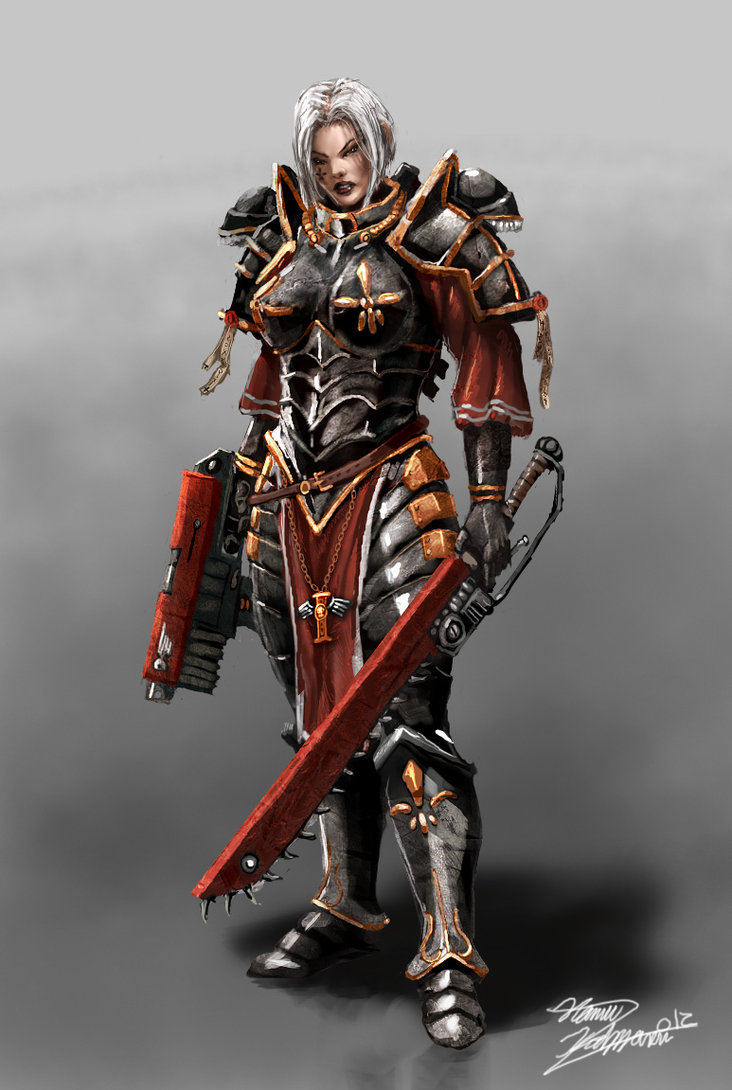
The two weapons which I am wanting to make for this cosplay are shown in the picture.
Right now I am concentrating on the chainsword, I made this decision because as I have made guns in the past but I have never made anything like this. To make this as cheaply as possible I have decided to make it from cardboard. I know this isn’t the best material ever but I have had success with it in the past and I want to put this cosplay together as cheaply but effectively as possible!
So, this is going to be a cheap way of making a large prop. Obviously this was made cheaper for me because I had 90% of these materials lying around my house already! So if you don’t it will probably work out a little bit more expensive!
For both parts of this build you will need;
- Cardboard (lots of it)
- Stanley knife
- Scissors
- Pen (I chose a sharpie)
- Ruler
- Glue gun and glue gun sticks
- Carving foam
- Acrylic paint/ spray paints
- Paintbrushes
- PVA glue
- Newspaper
- Gesso (I will discuss this at the end)
- Sand paper and sanding tools
- Any extra bits and bobs to make your prop look more awesome!
Part One: The Build
In this blog I am only going to cover the construction of the sword so you start off with the following items:
- Cardboard (lots of it)
- Stanley knife
- Scissors
- Pen
- Ruler
- Glue gun and glue gun sticks
- Sanding tools
Optional: (Bits I used to make my sword look a little bit more effective)
- Carving foam
- Wire
- Bauble?!?!?!
References
The first stage is finding your reference picture/ pictures. I normally work from a few reference pictures at any one time to get the various details of the piece but with this I have only been able to find the one picture that looks like what I want. But this is a simple design that I should be able to recreate fairly easily.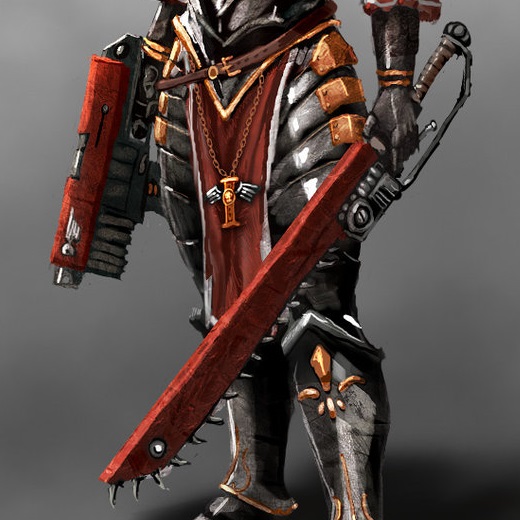
The good thing about making props like this that I can allow myself a few creative allowances so this means that I don’t make them identical to the original piece; this is why I like to make 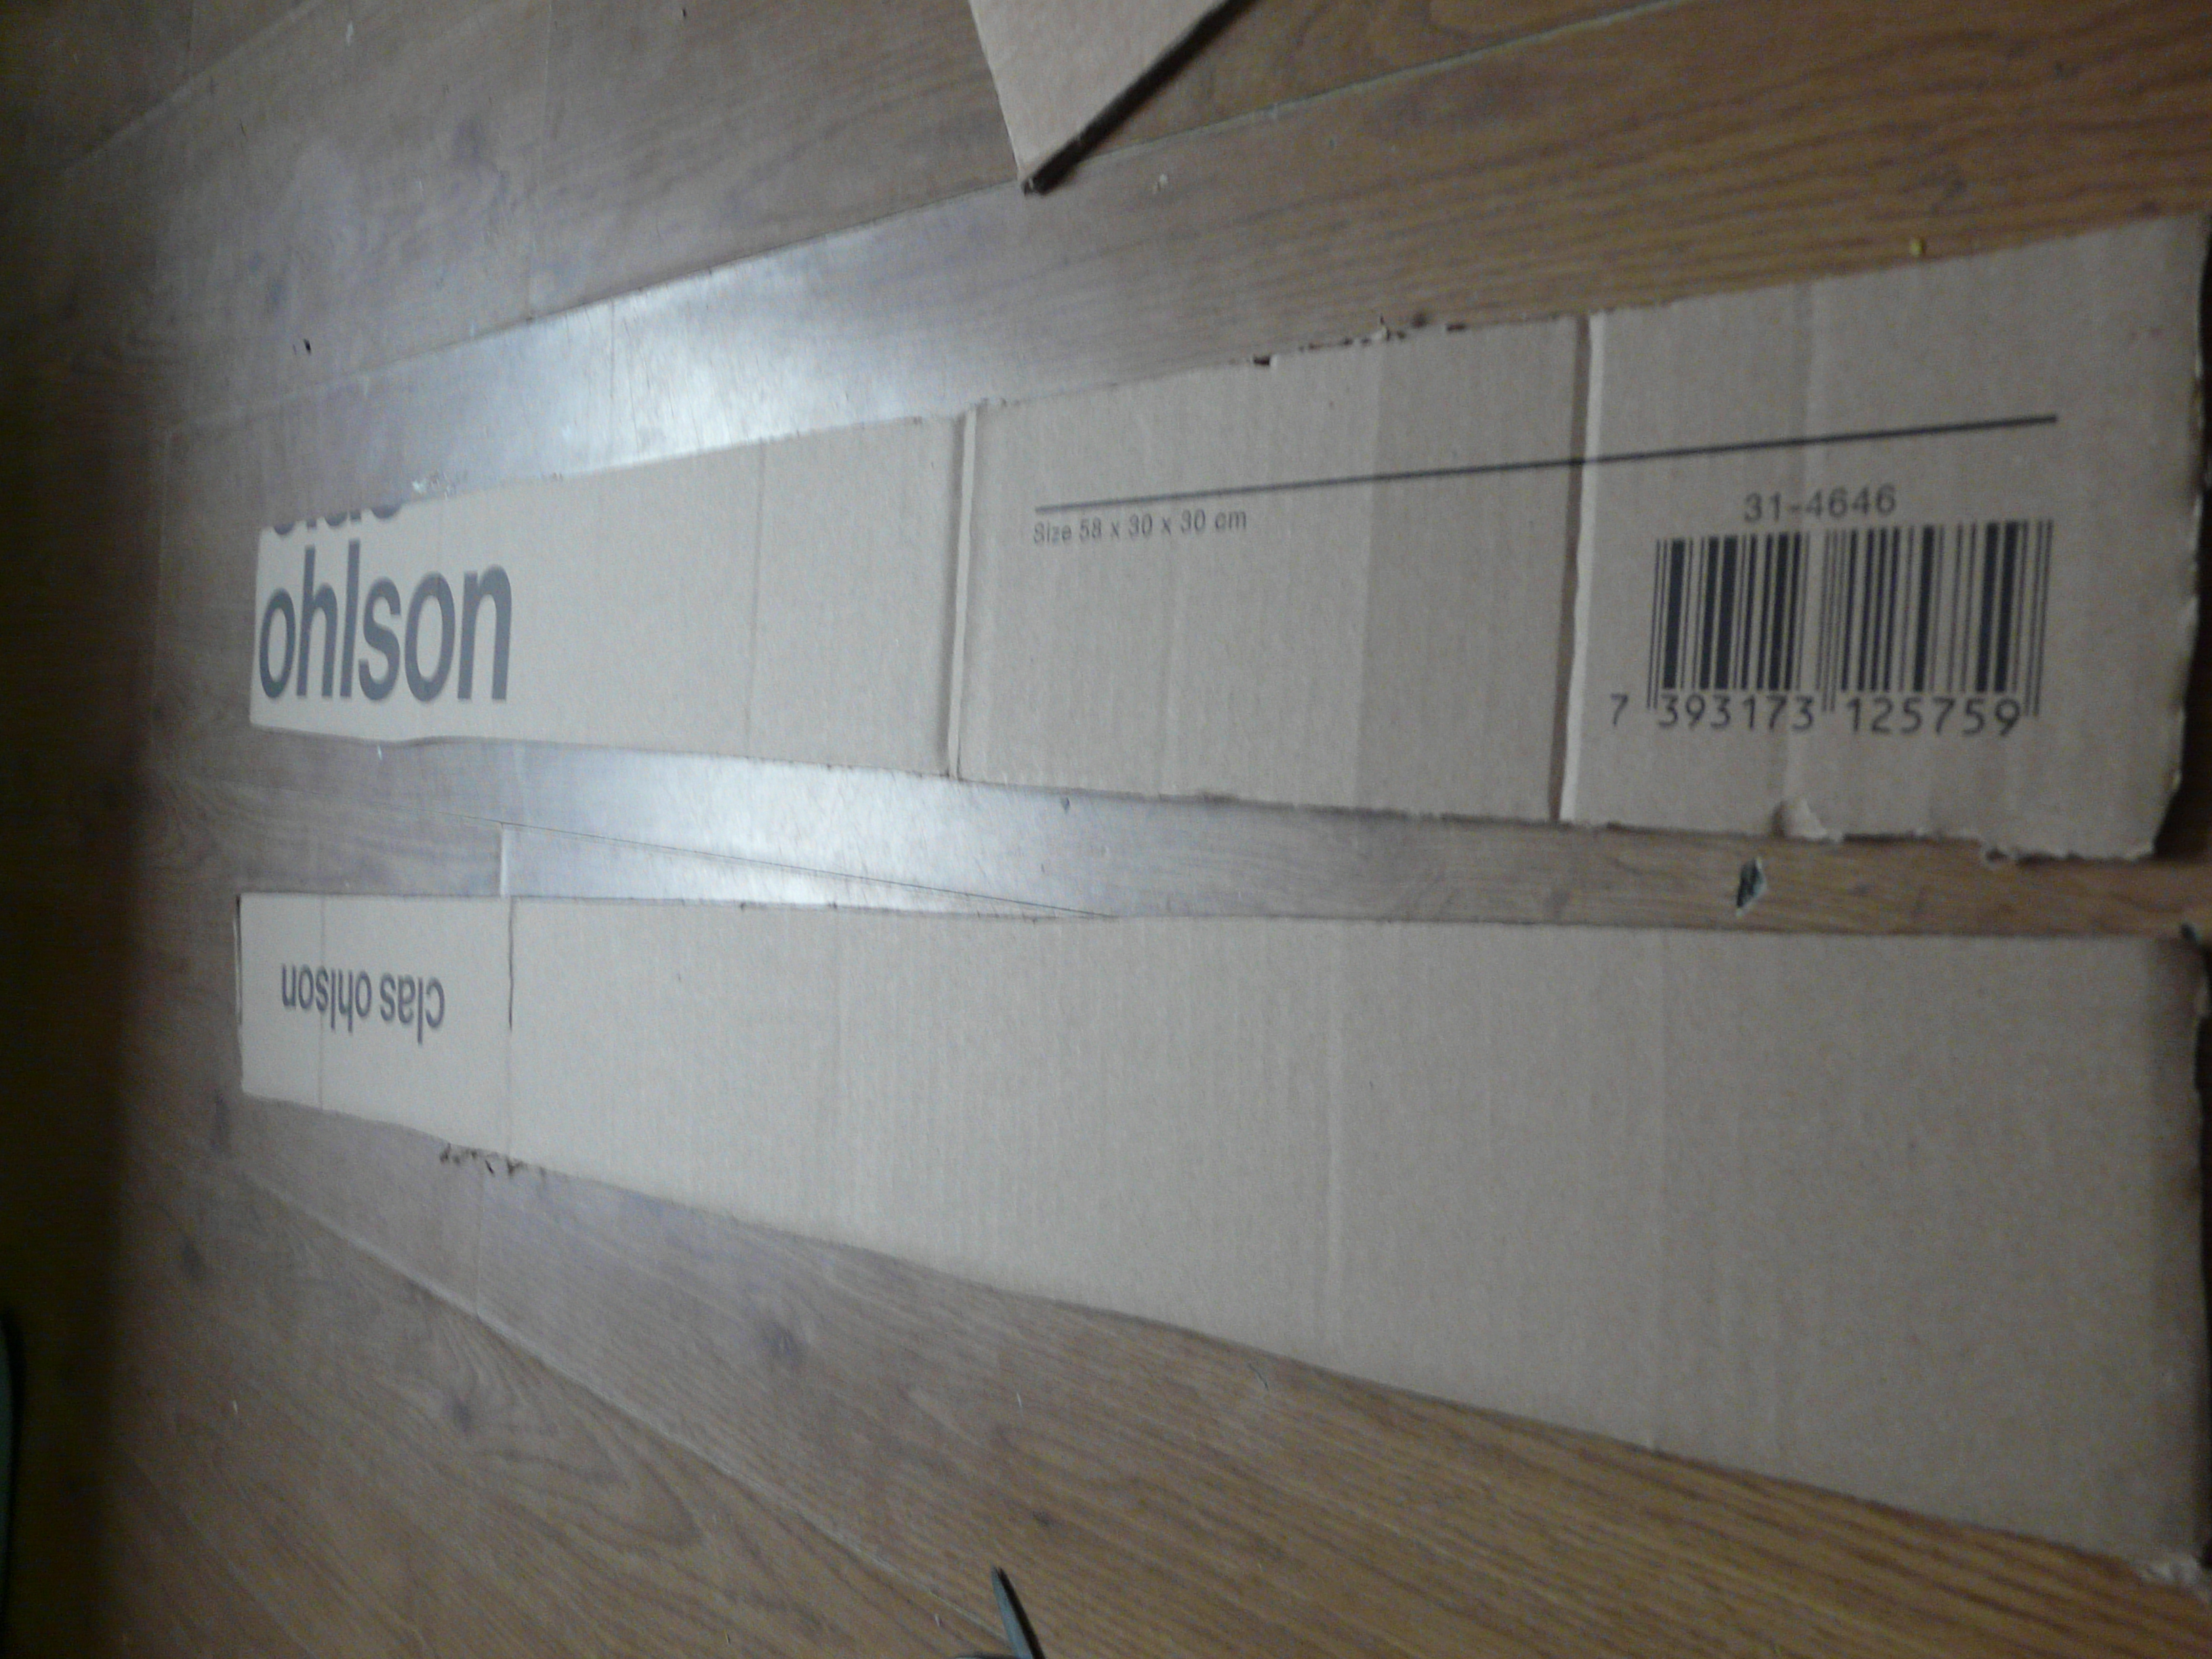 Borderlands guns because you can put your own individuality and creativity into them. So my chainsword is going to be a bit more chucky than this with bigger teeth!
Making the body of the blade
What I would normally do first with my prop is draw it out onto paper to get the size right before transferring this to the cardboard/ foam ect. But in this case because the prop is so big I used my trusty ruler and drew straight onto the cardboard.
First simply draw the length of the blade by drawing two long rectangles! If you struggle to get sizes right my blade 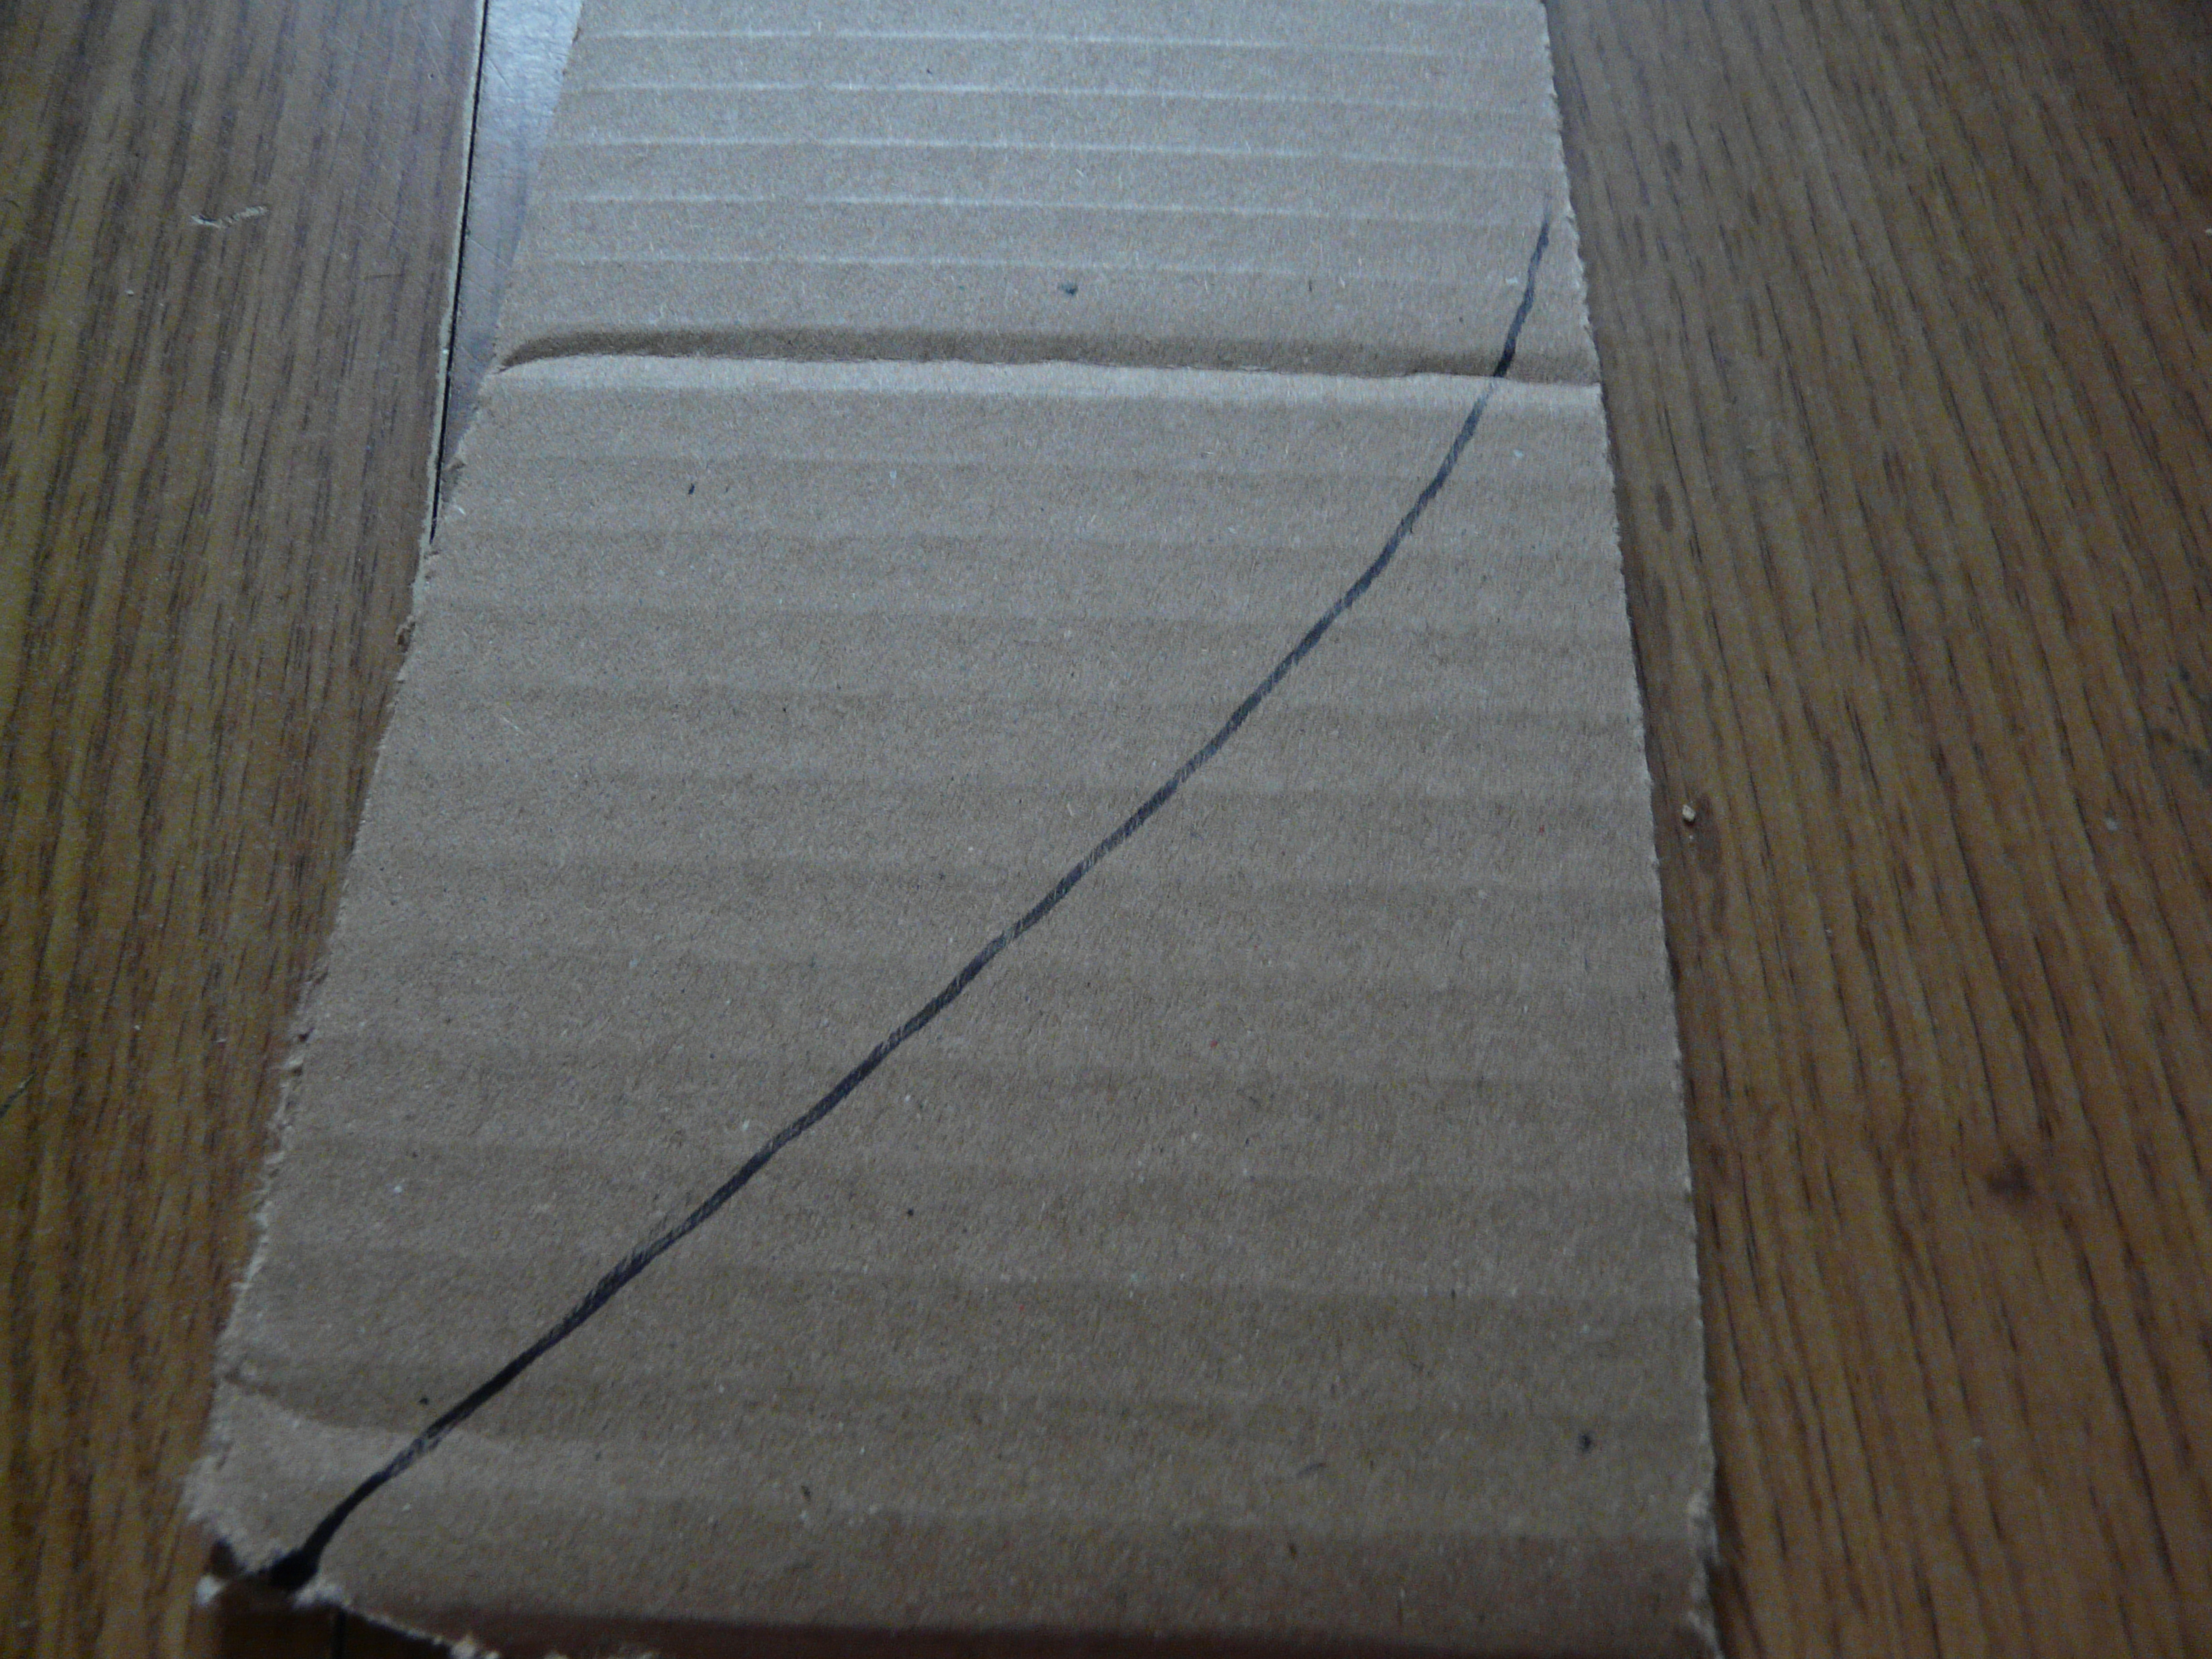 runs about 85cm long and 10cm wide! When I am happy with the size of my blade I cut it out with a Stanley knife. I am no good at cutting straight lines so I had to go back and tidy it up a couple of times.
After I have cut these out I draw on the curve of the blade, this may take a couple of times to get right but if you are struggling to get it right sketch it out on a piece of paper before going straight to the cardboard. Once you have cut one out you can then trace the curve onto the other piece of cardboard!
So next my cat then decides to intervene with my progress by being all cute and stuff on the part of the cardboard that I am using so I have to take a ten minute break to play…
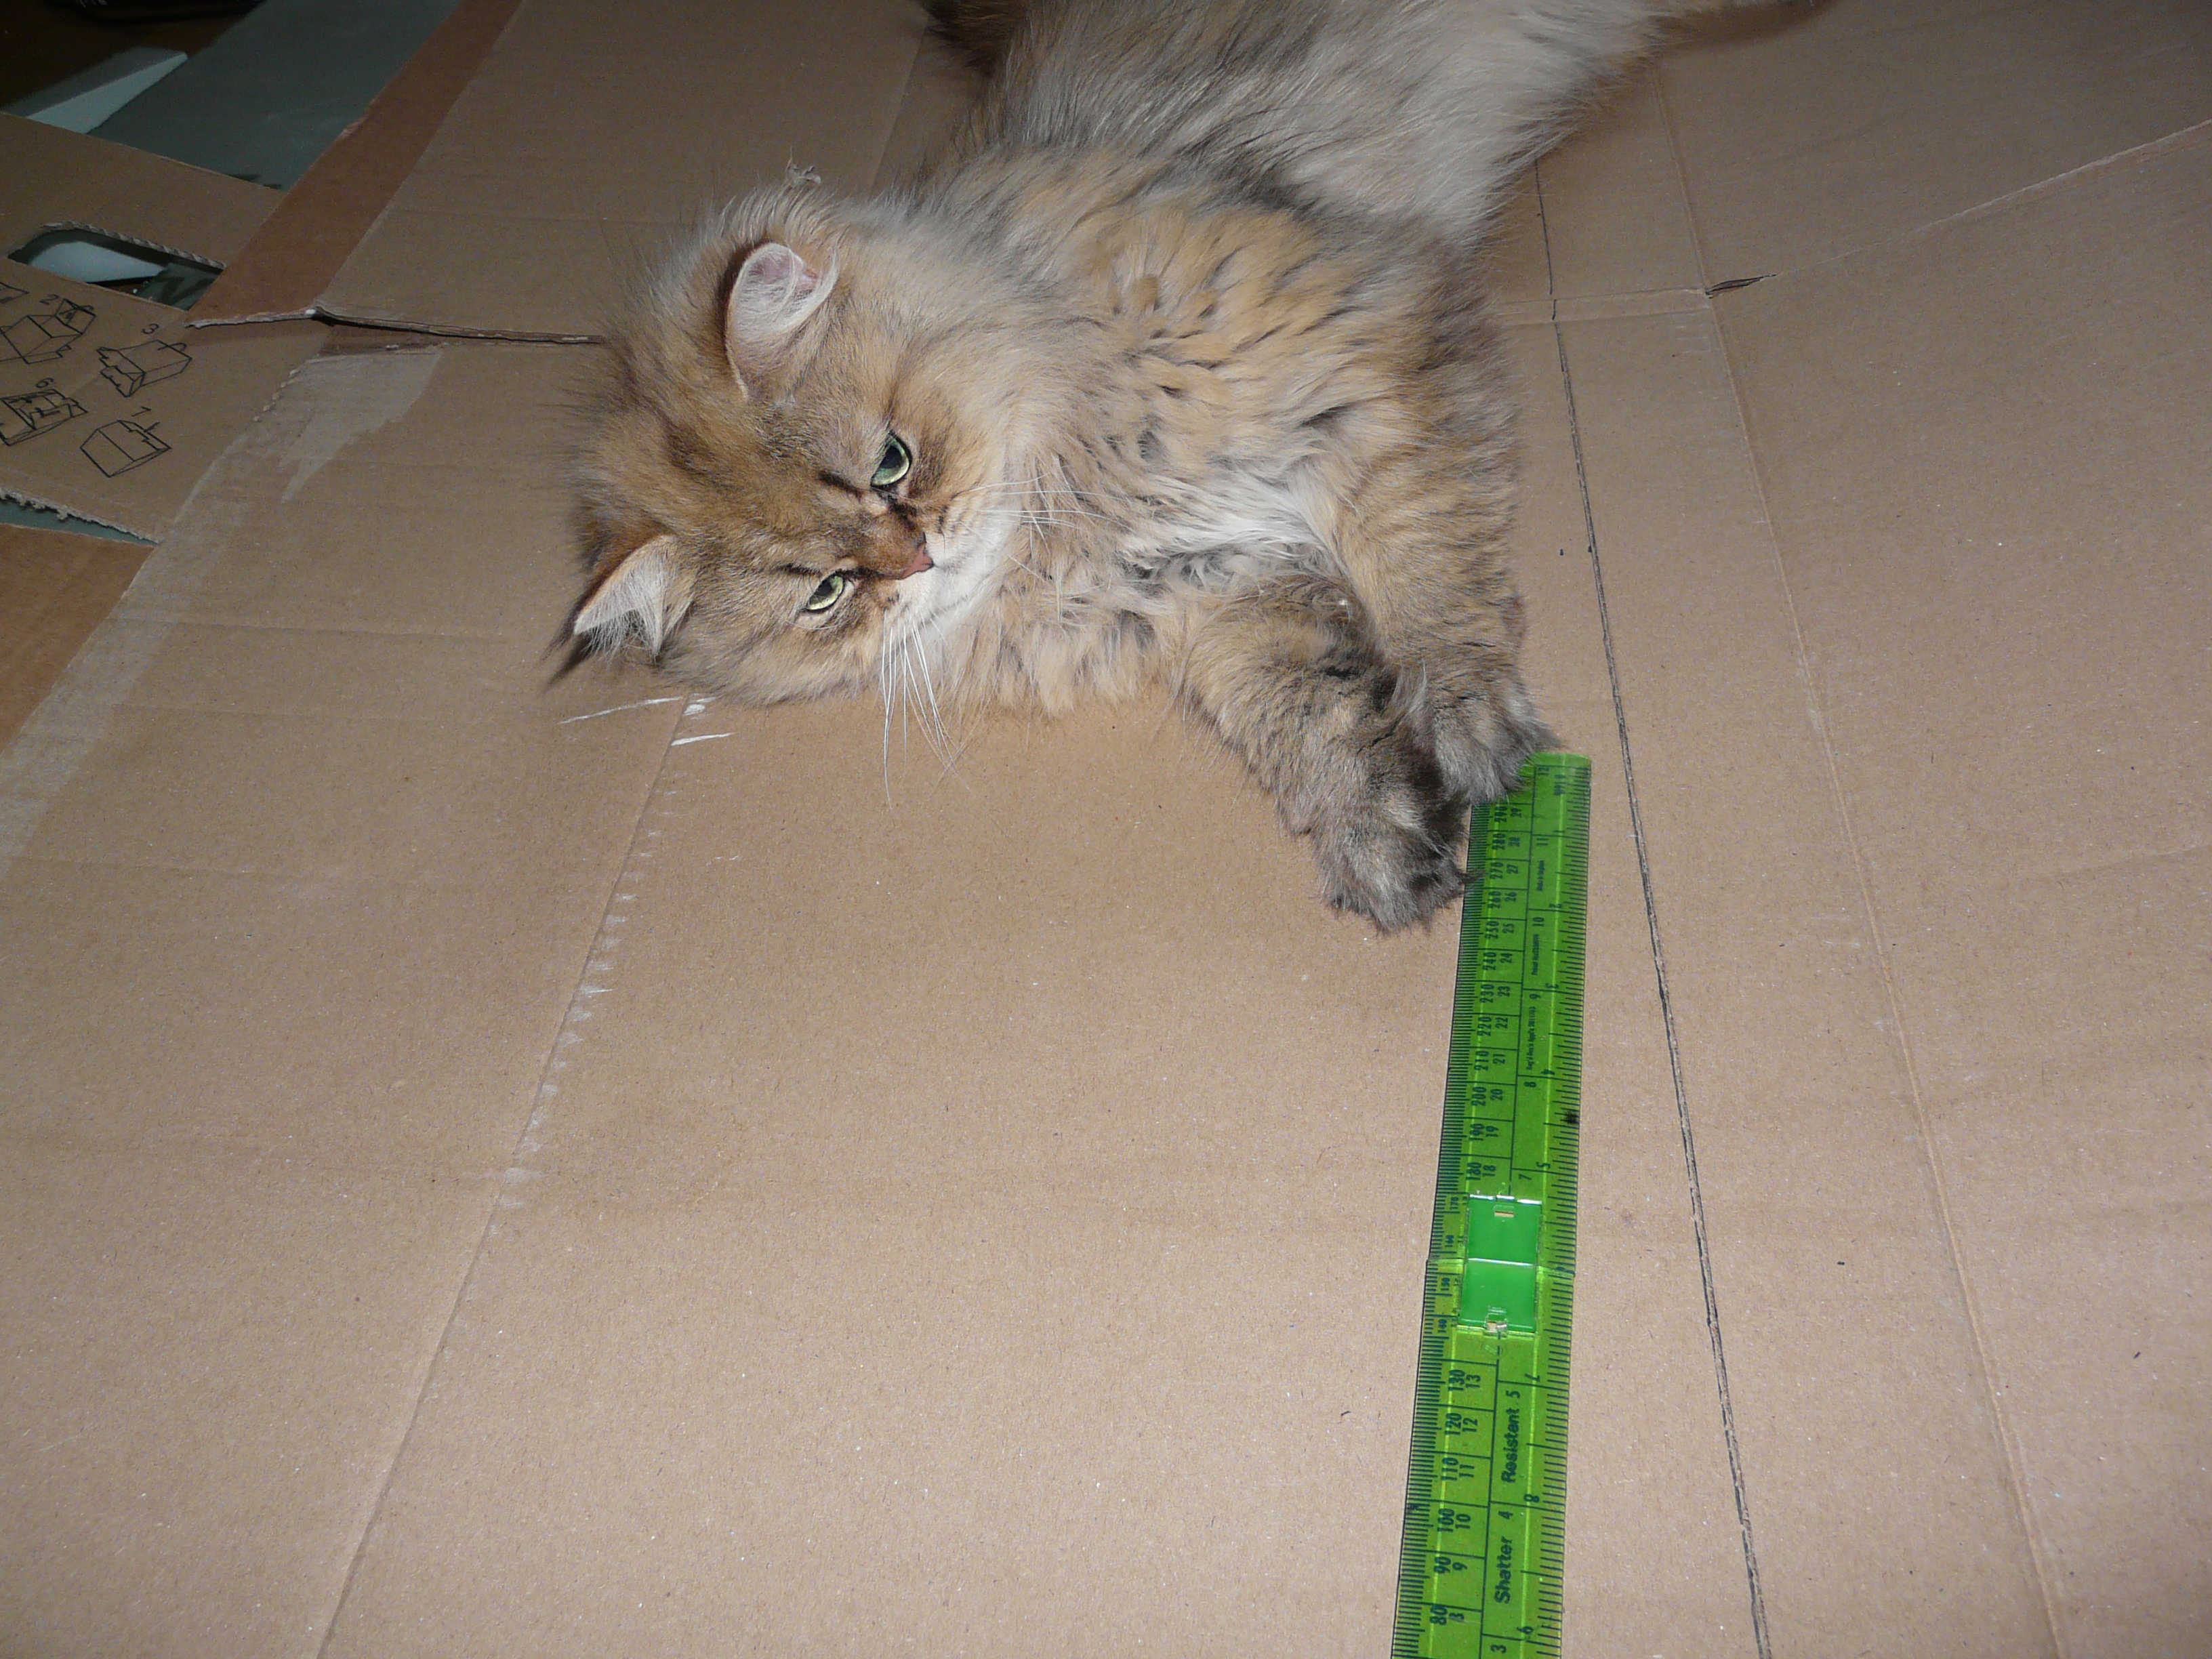
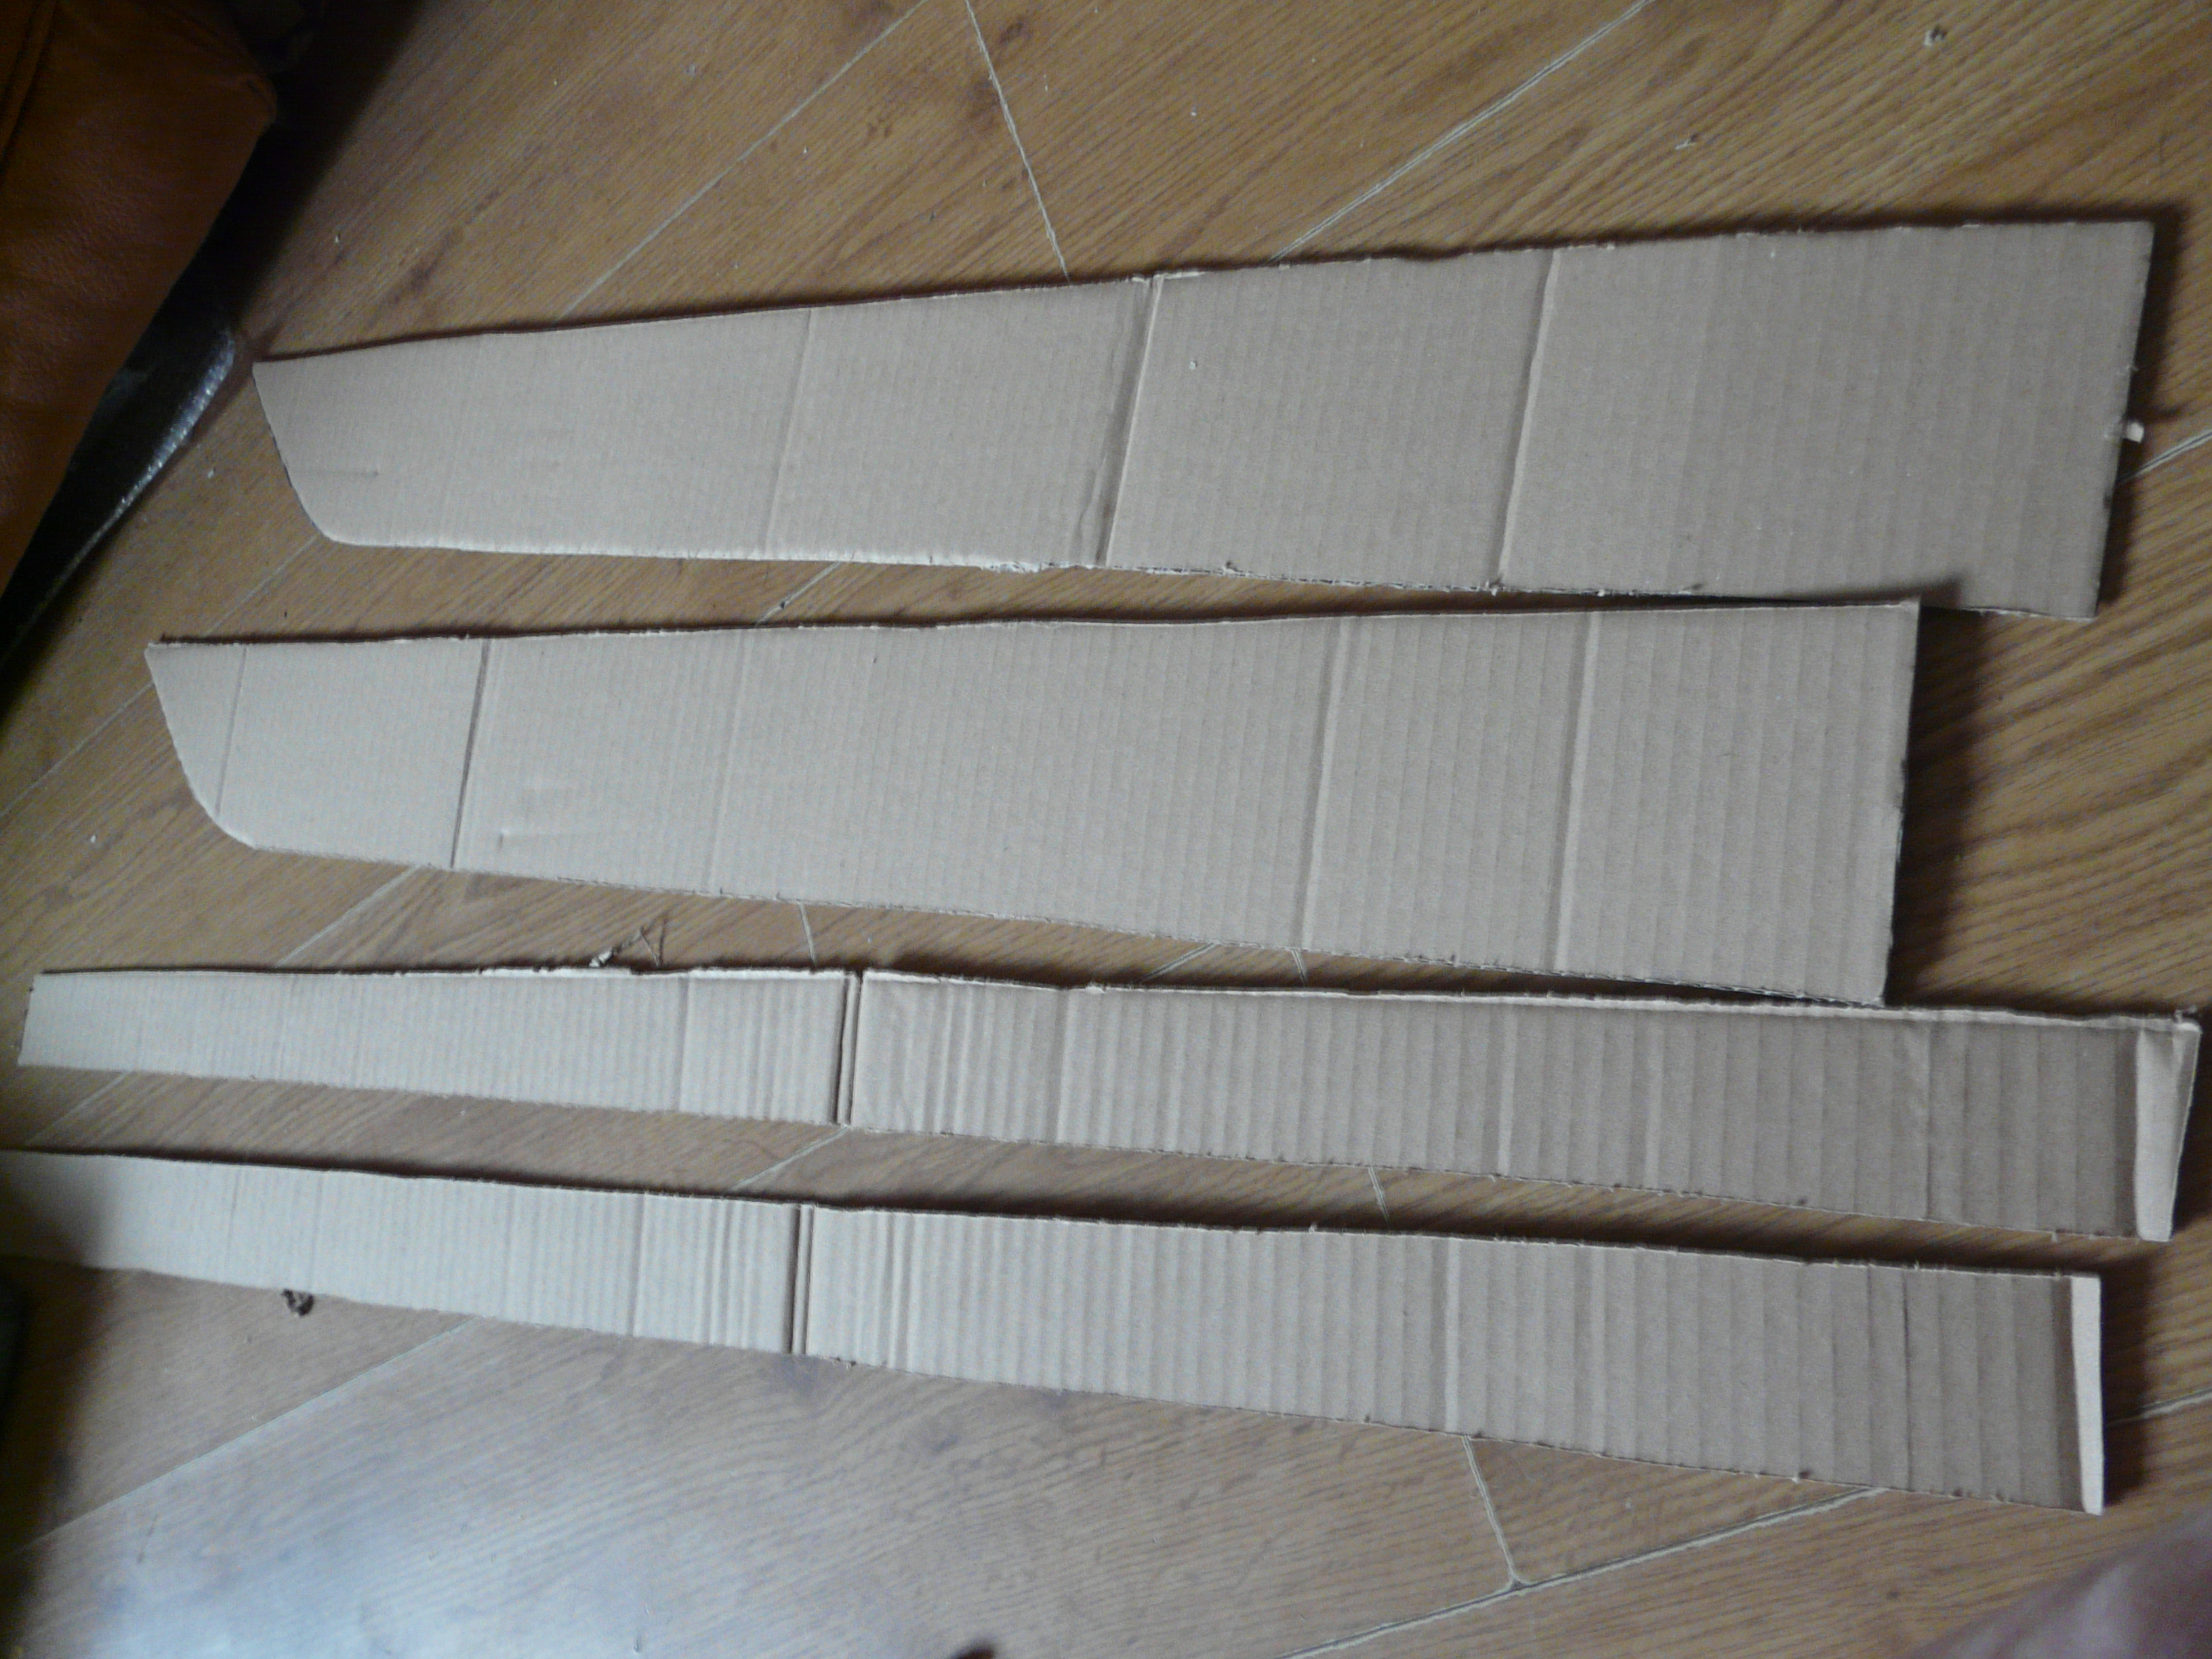
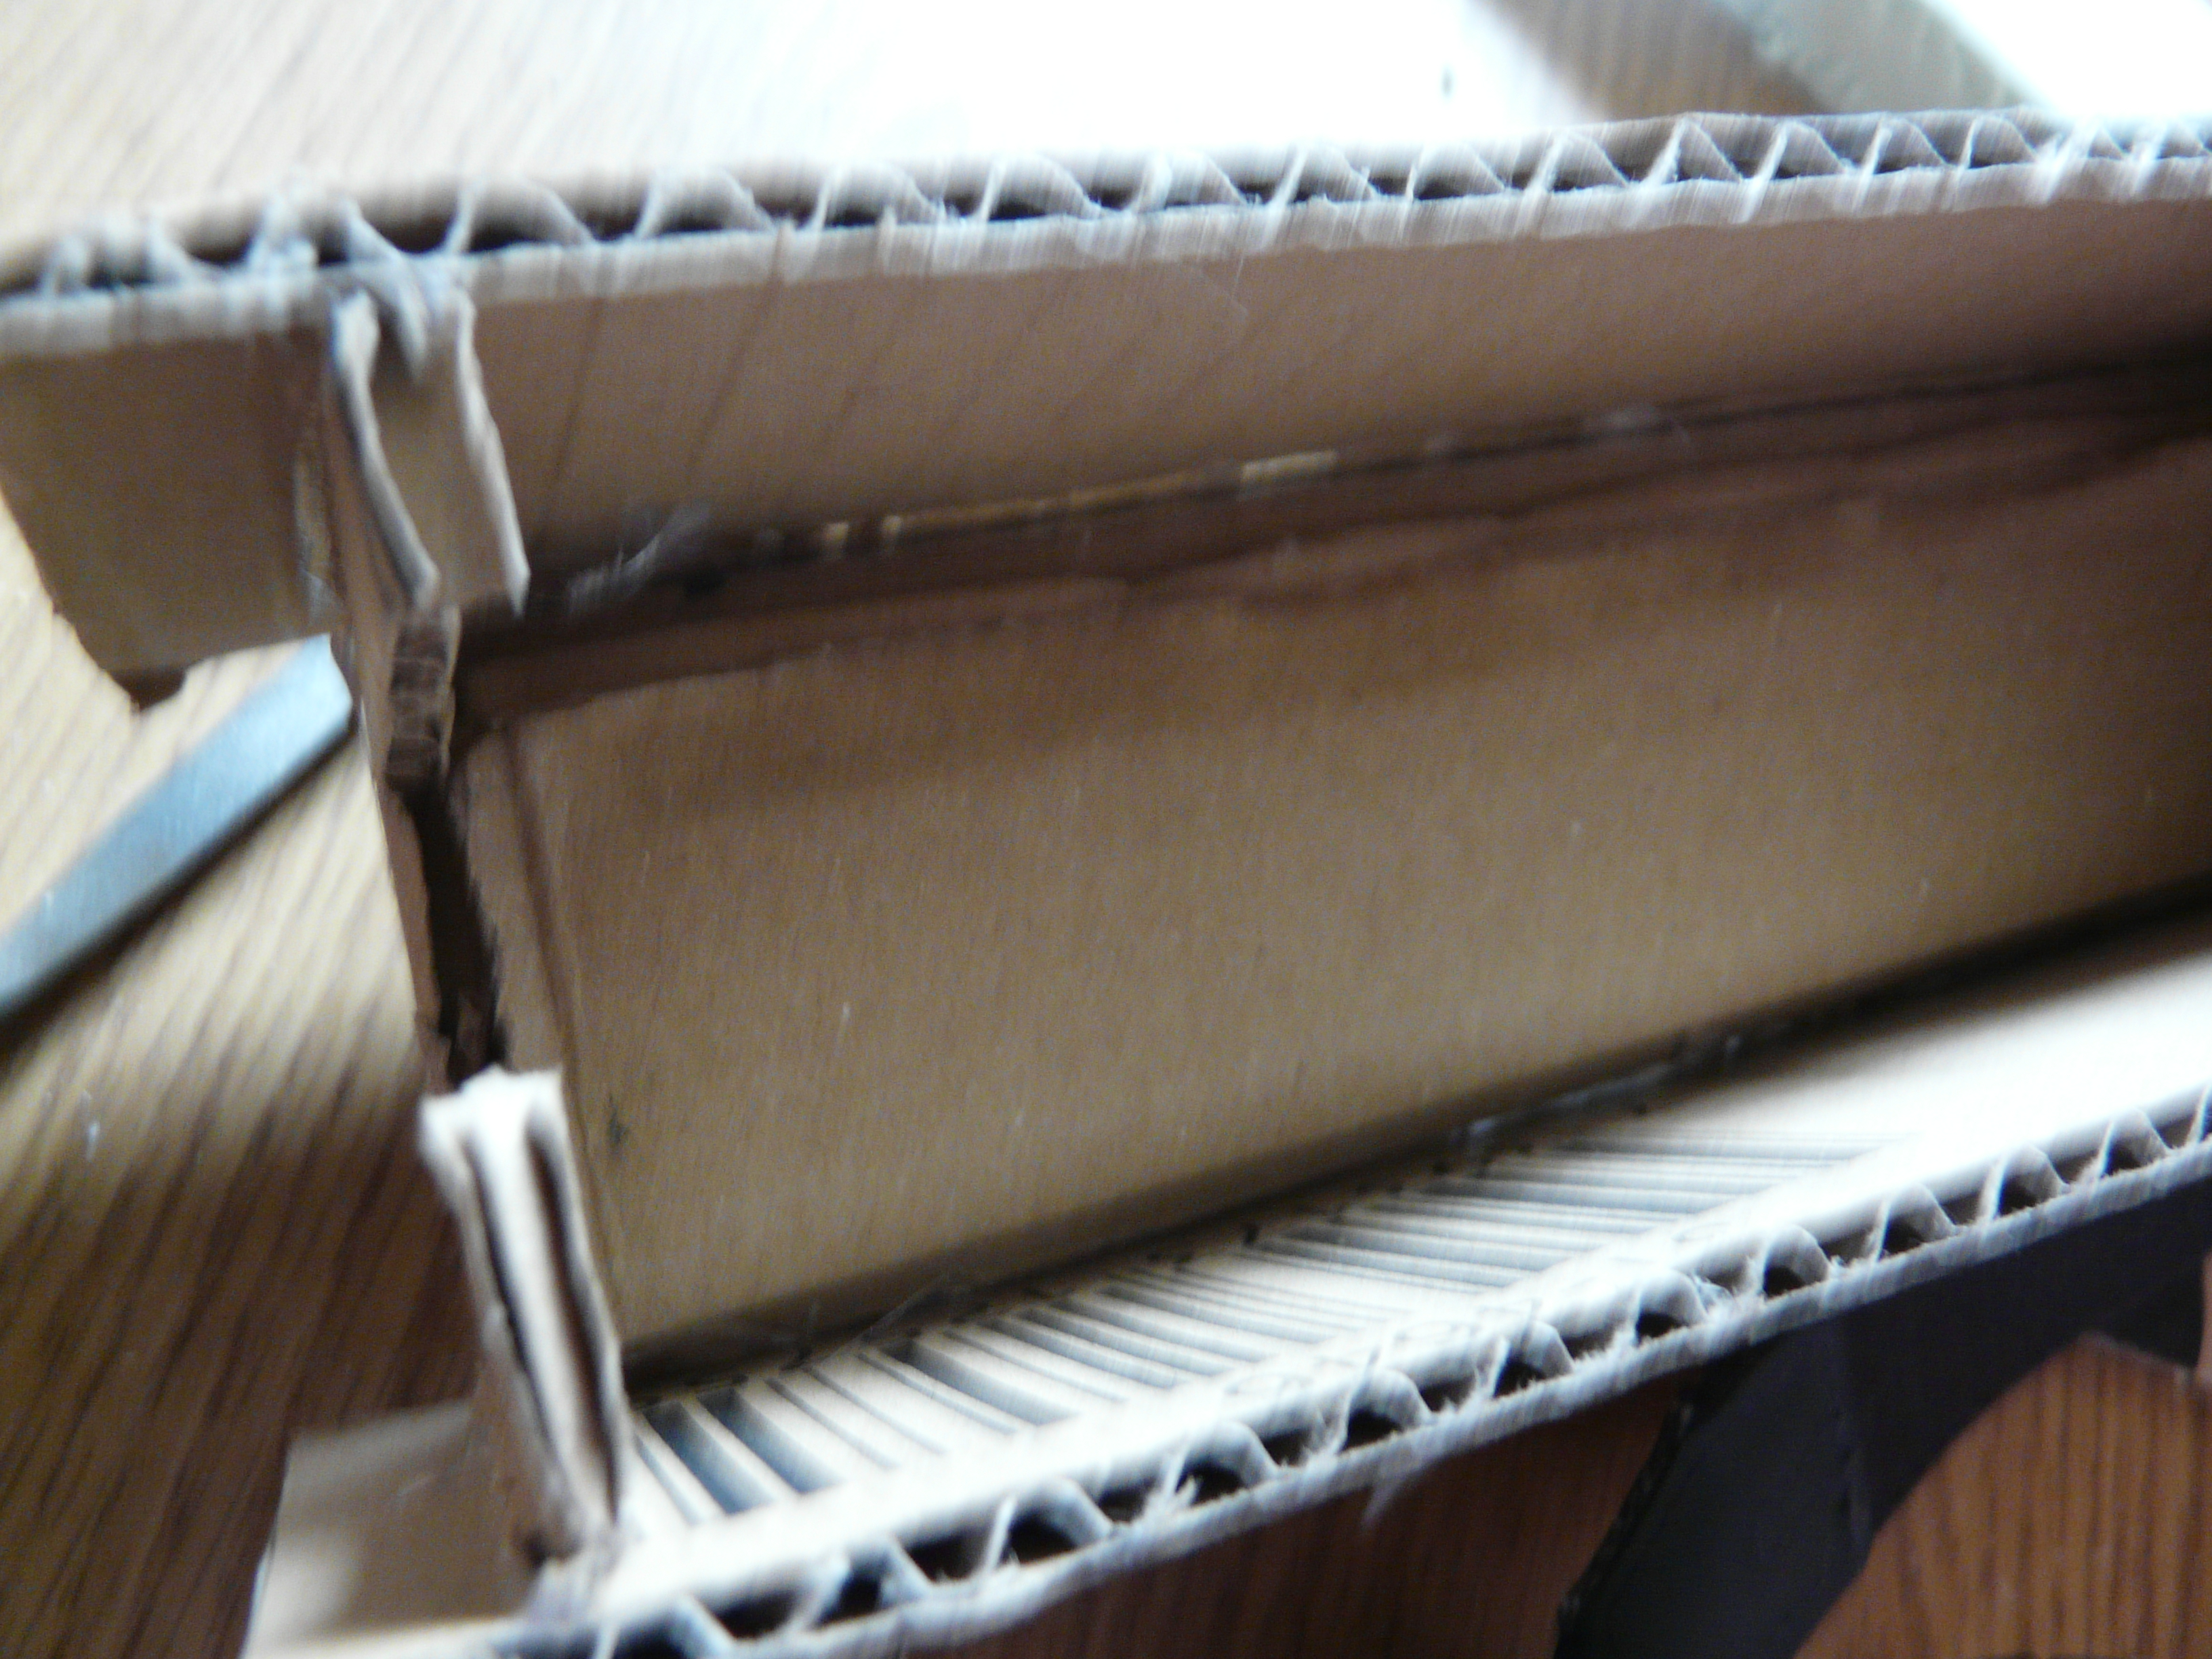
Once my cat decides that my ruler is no longer hunt worthy; I then cut two long strips of cardboard that are longer than the blade itself and about 5cm wide. And then comes the tricky bit; putting the pieces together. These two long bits will become the runner where the teeth of the chainsaw will sit.
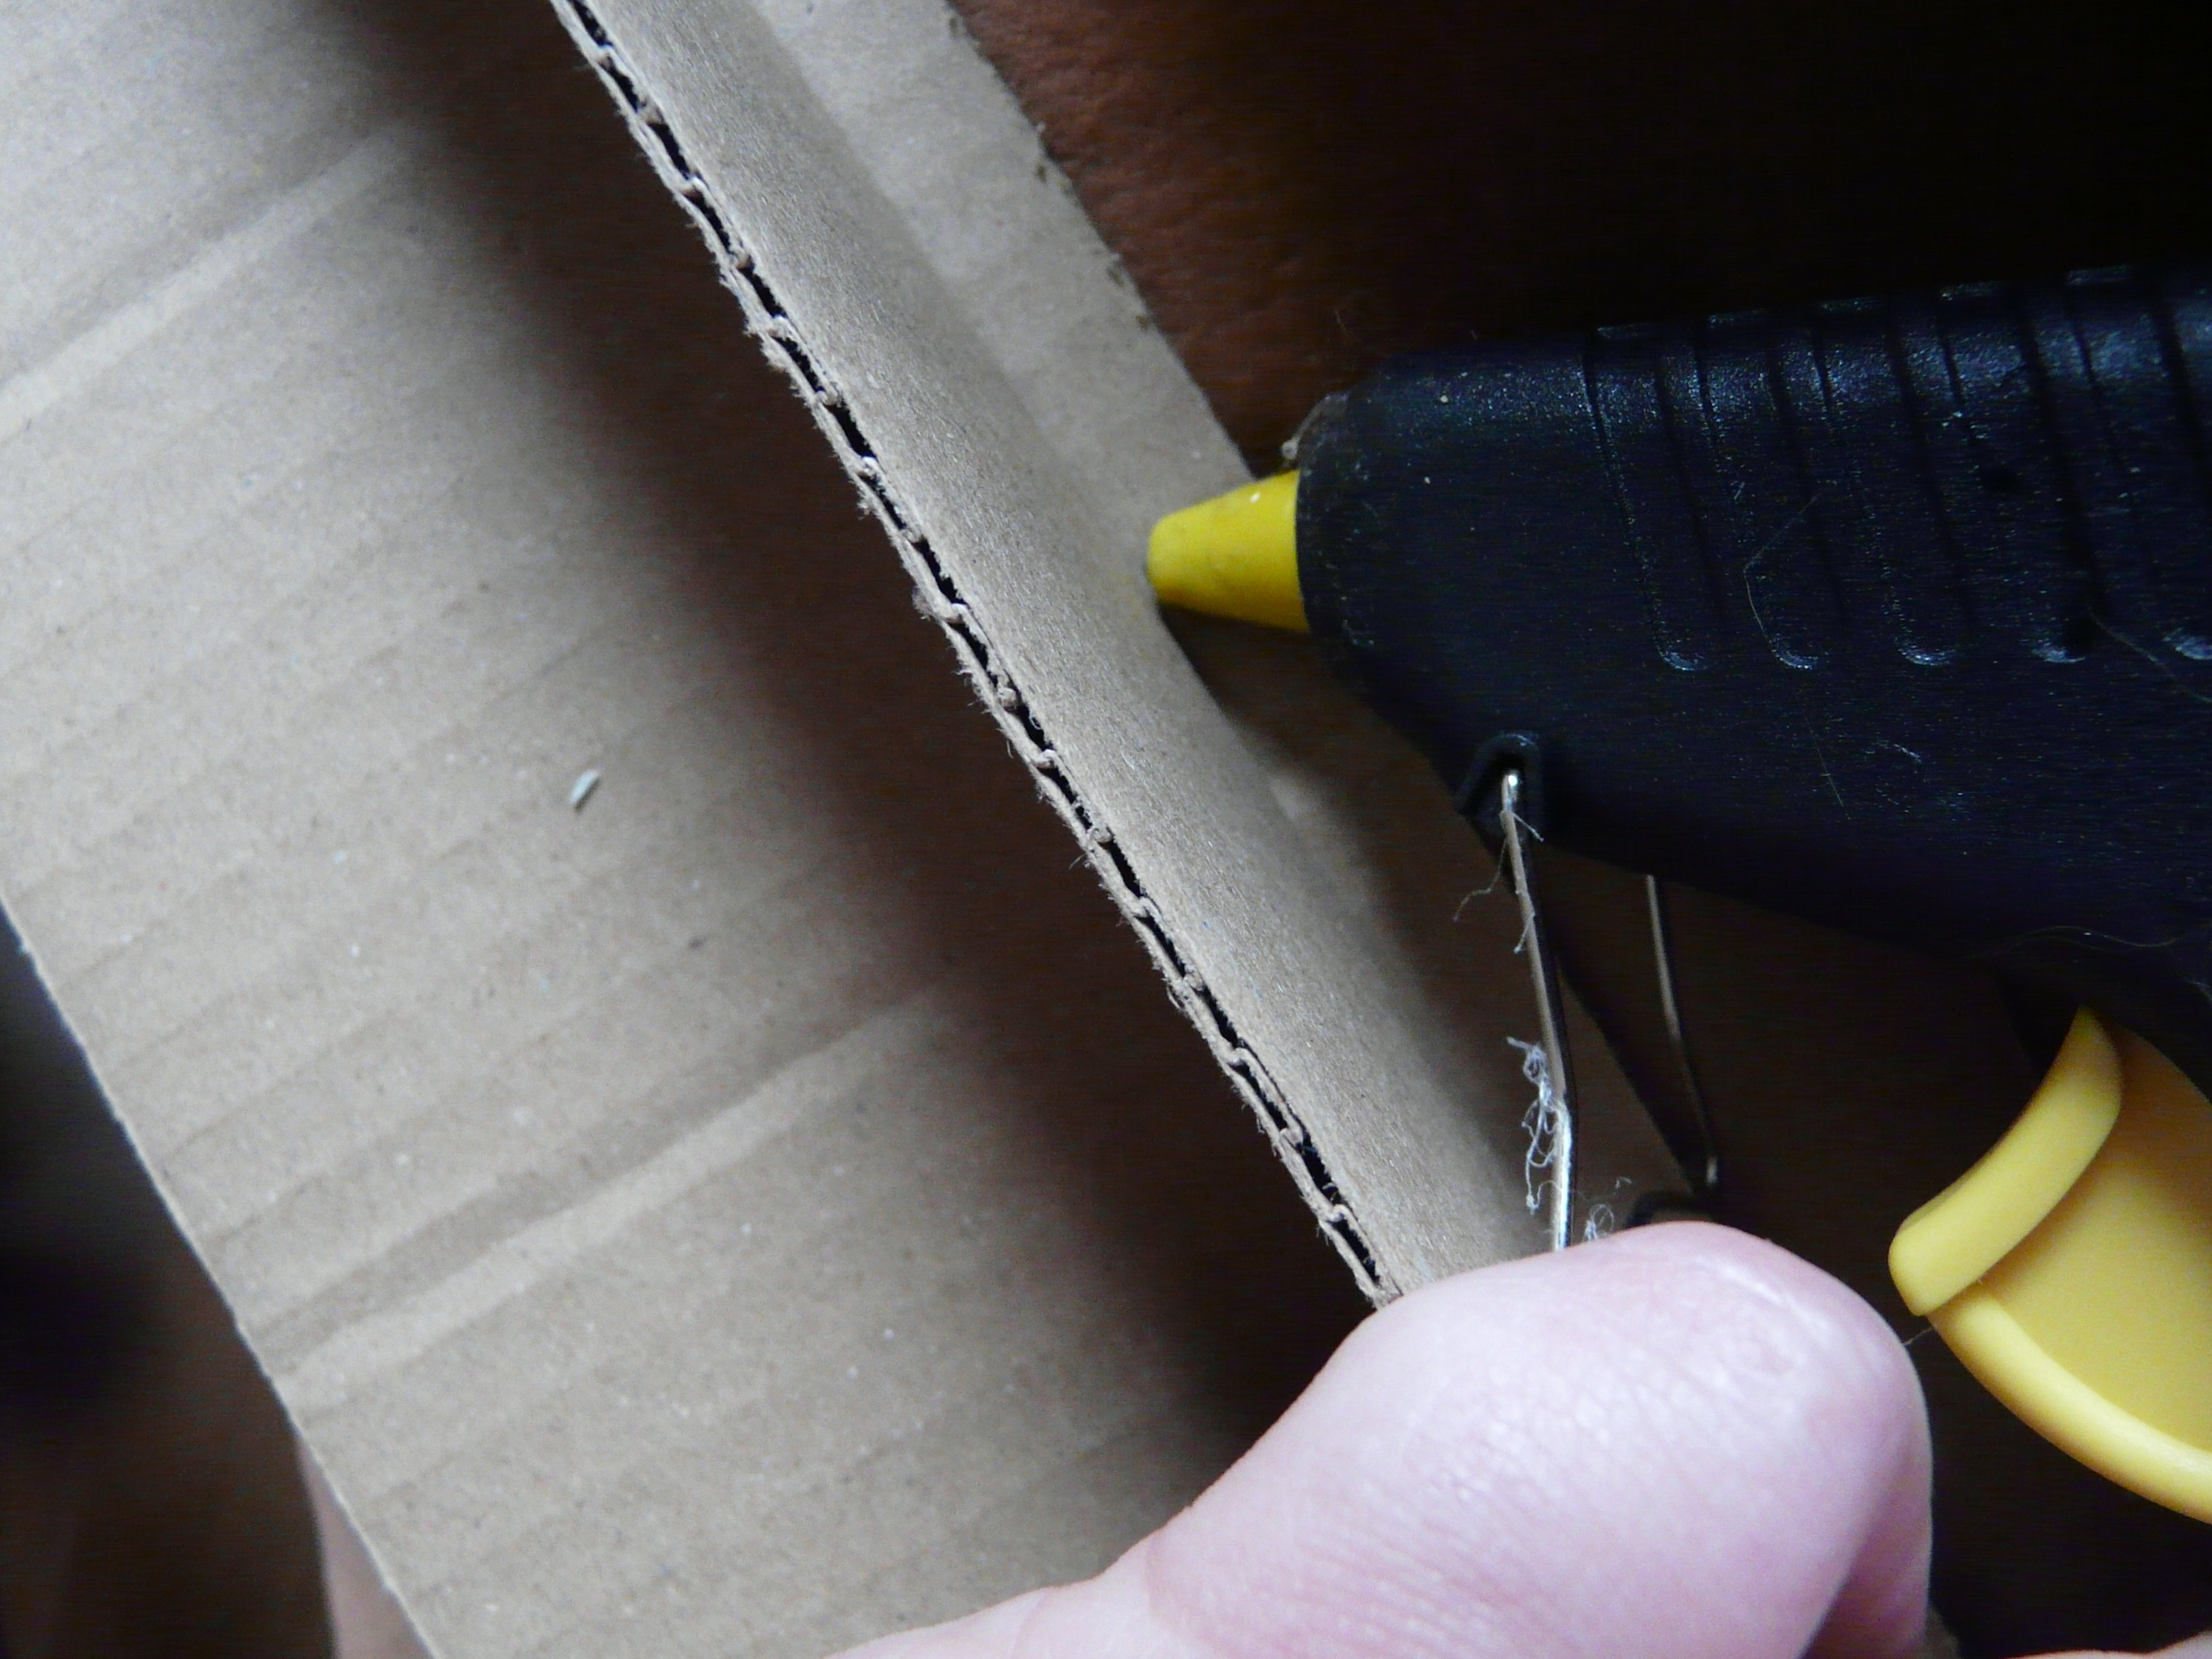
So I realised once I started glue gunning my cardboard together that I should have drawn a straight line where I wanted the edge of the cardboard to go (which was about a cm in from the edge of the blade) but I went in blind and it didn’t work out too bad. Cut any excess card board and glue the seams together.

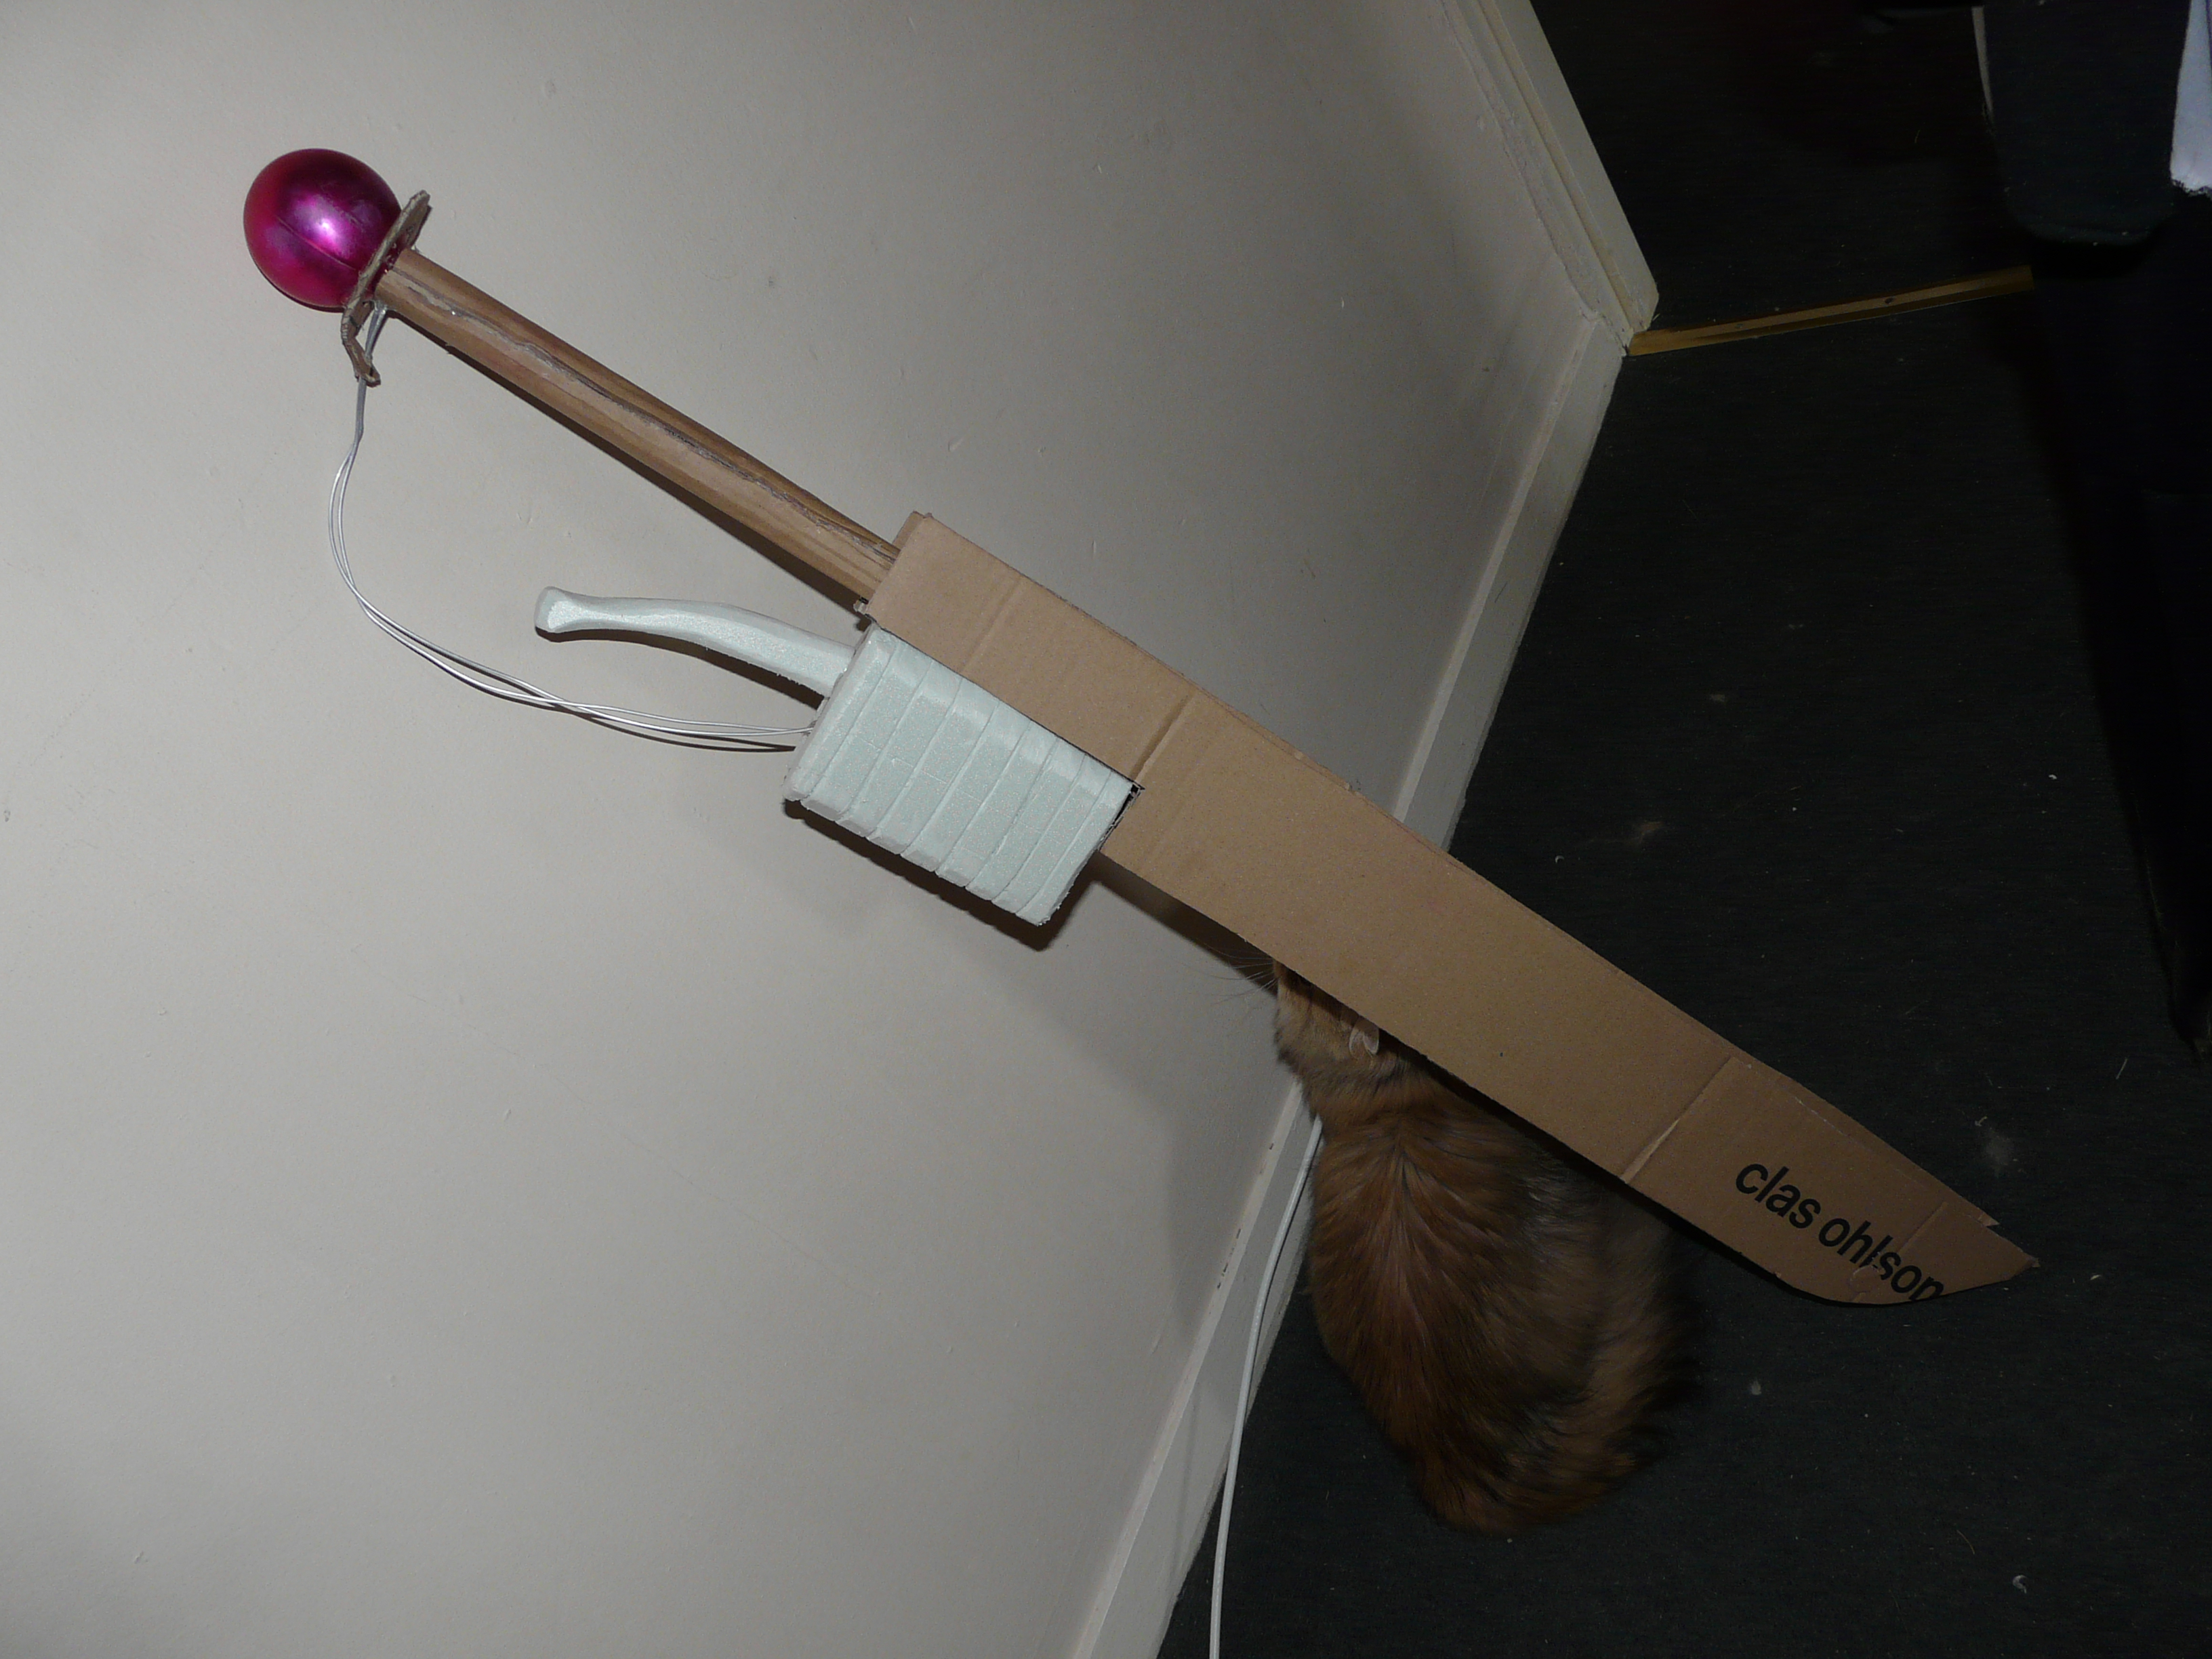
At this point that I needed to make room for the engine so I measure a section at the handle end of blade that is about 4cm x 17cm and use a Stanley knife to cut this part out.
Constructing the handle
I then move onto my crafting foam for the handle I cut a long rod of carving foam around 44cm long and 2cm squared (I’ll explain why in a second). When I carve it into a basic cylinder I realise that this is not going to be strong enough so I use it as a base to wrap cardboard around and this makes the handle super sturdy! I glue gun the cardboard together, try and make the edges of the cardboard fairly neat but this is not super important as later we will be wrapping faux leather around it.


I cut a section of cardboard out to about 1cm from the top of the inside of the sword. I stack some pieces of cardboard up inside the top of the sword so that is fits snuggly when glued together, adding more strength to the handle. I made the handle so long because I wanted it to go quite far into the blade of the sword, so I left about 28cm of my handle showing, the rest of it is glued to the stack of cardboard within the blade.

Carving the Engine
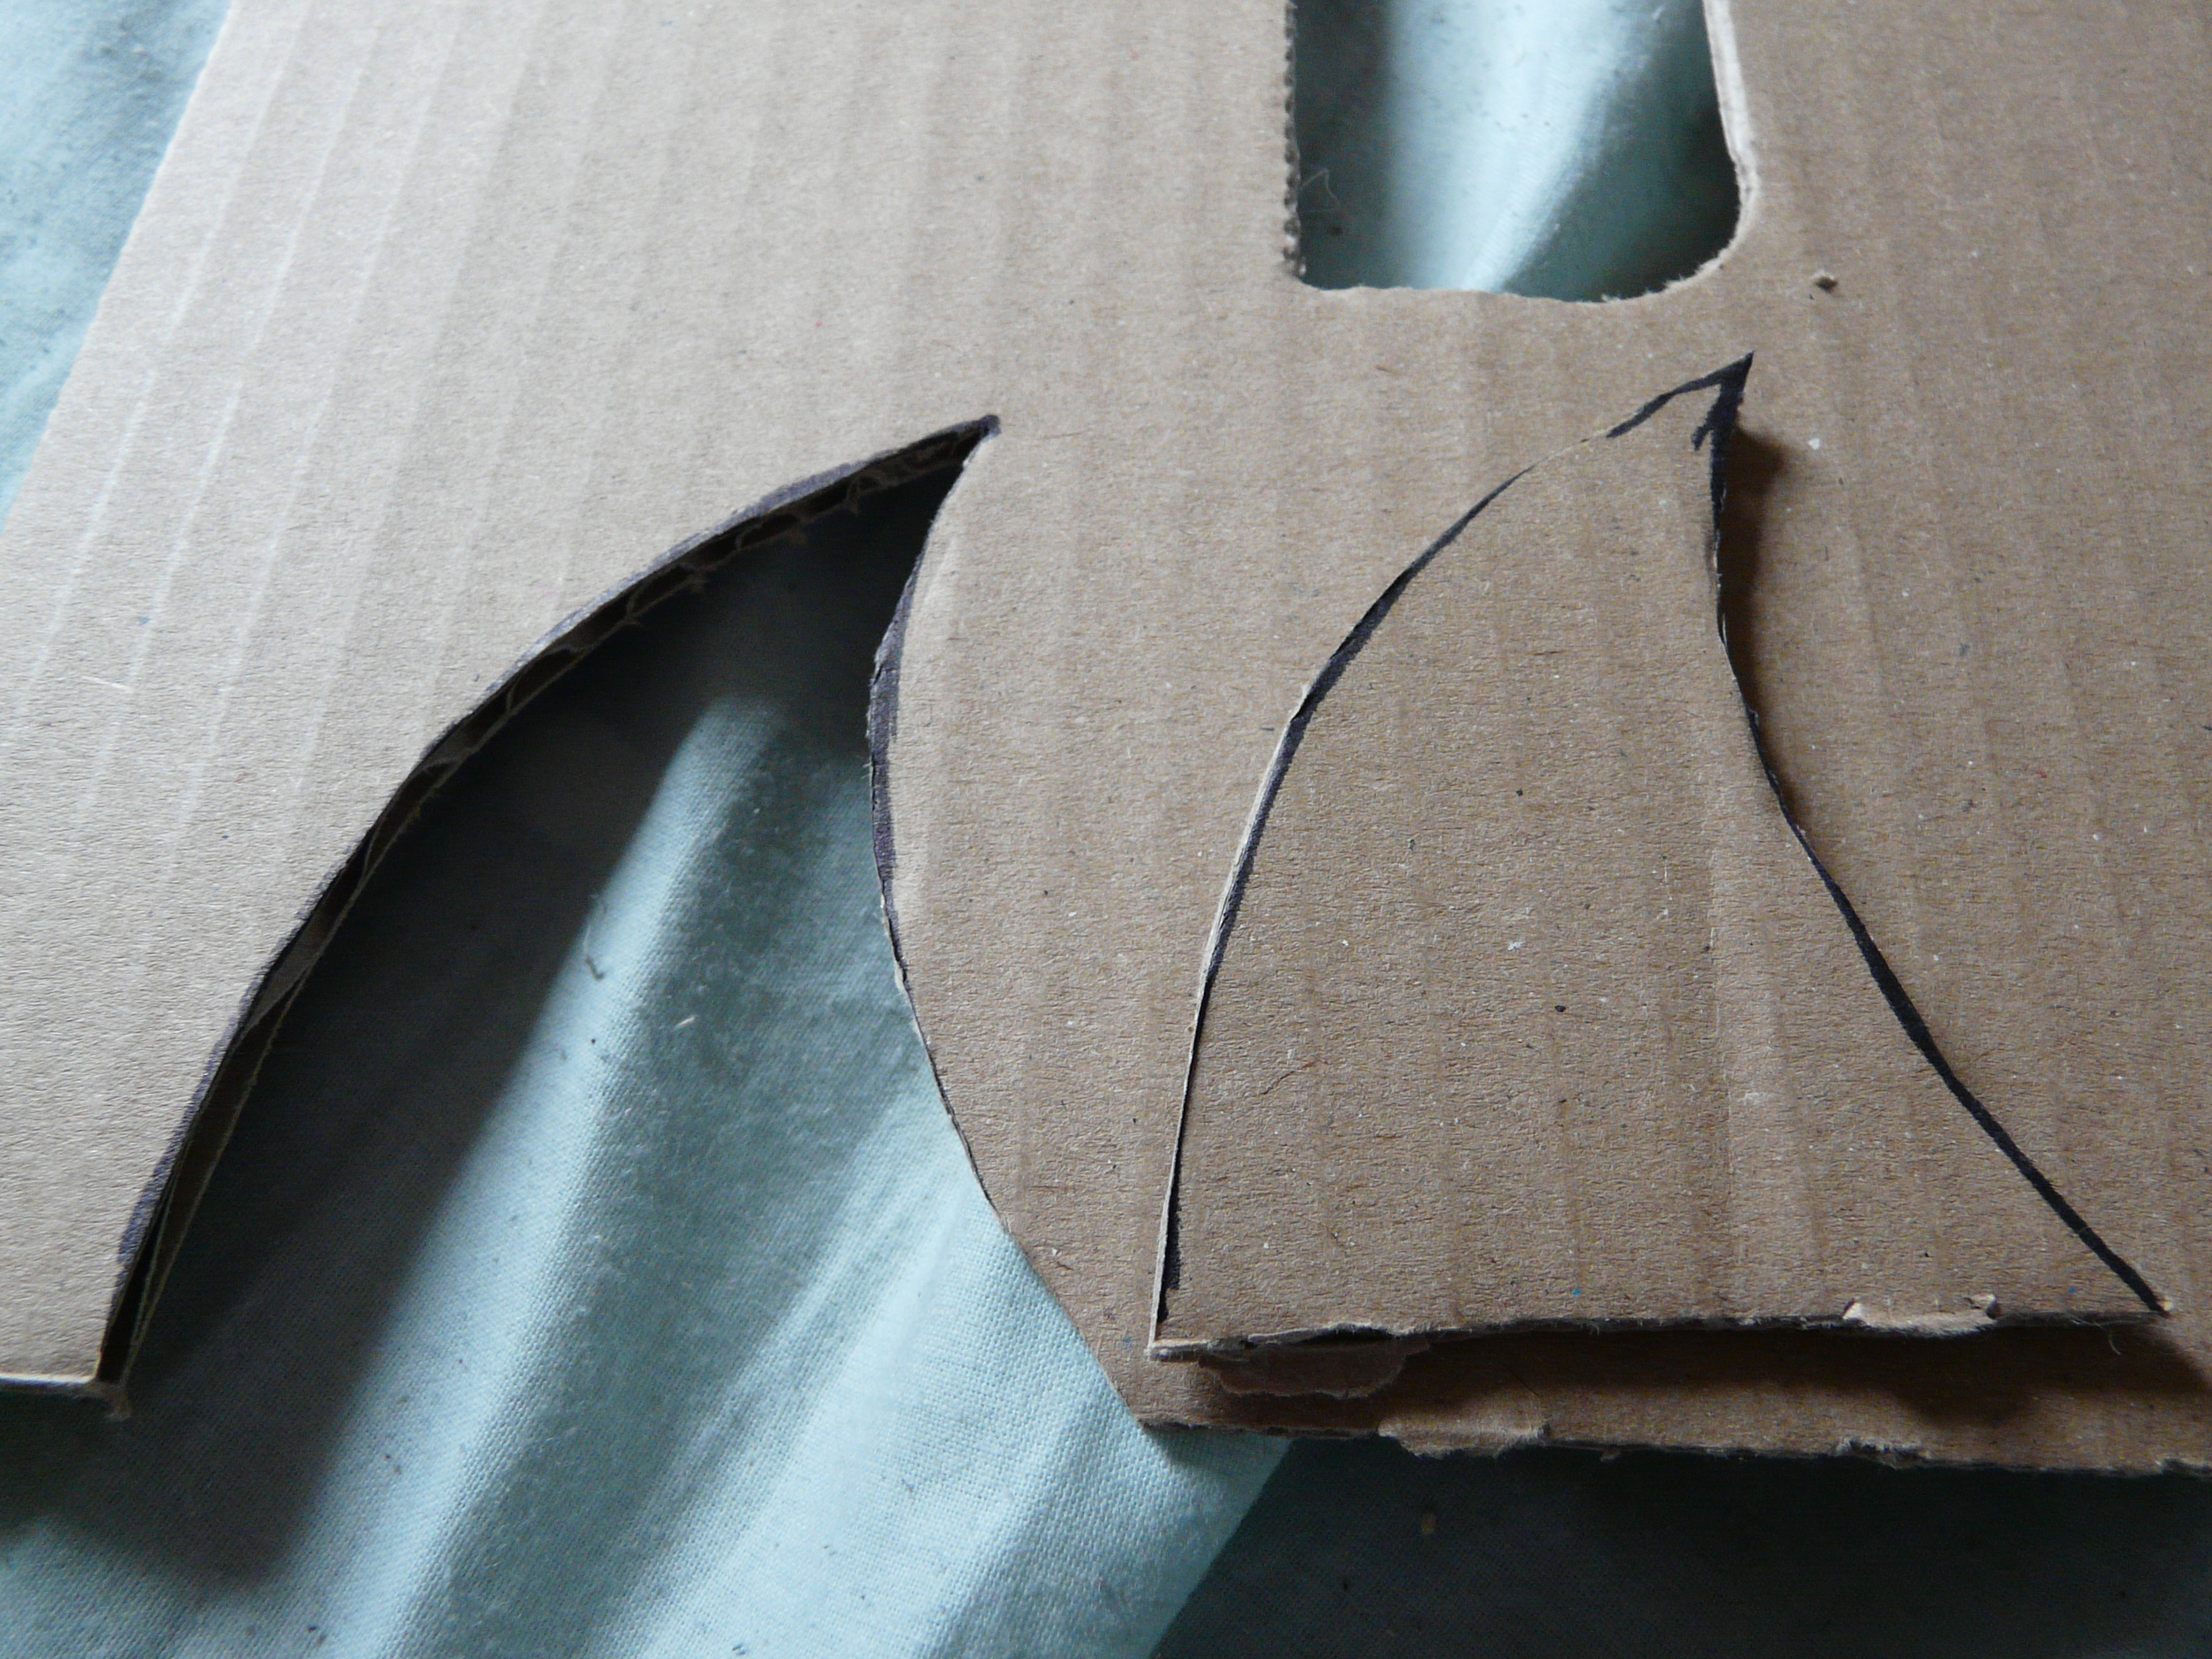
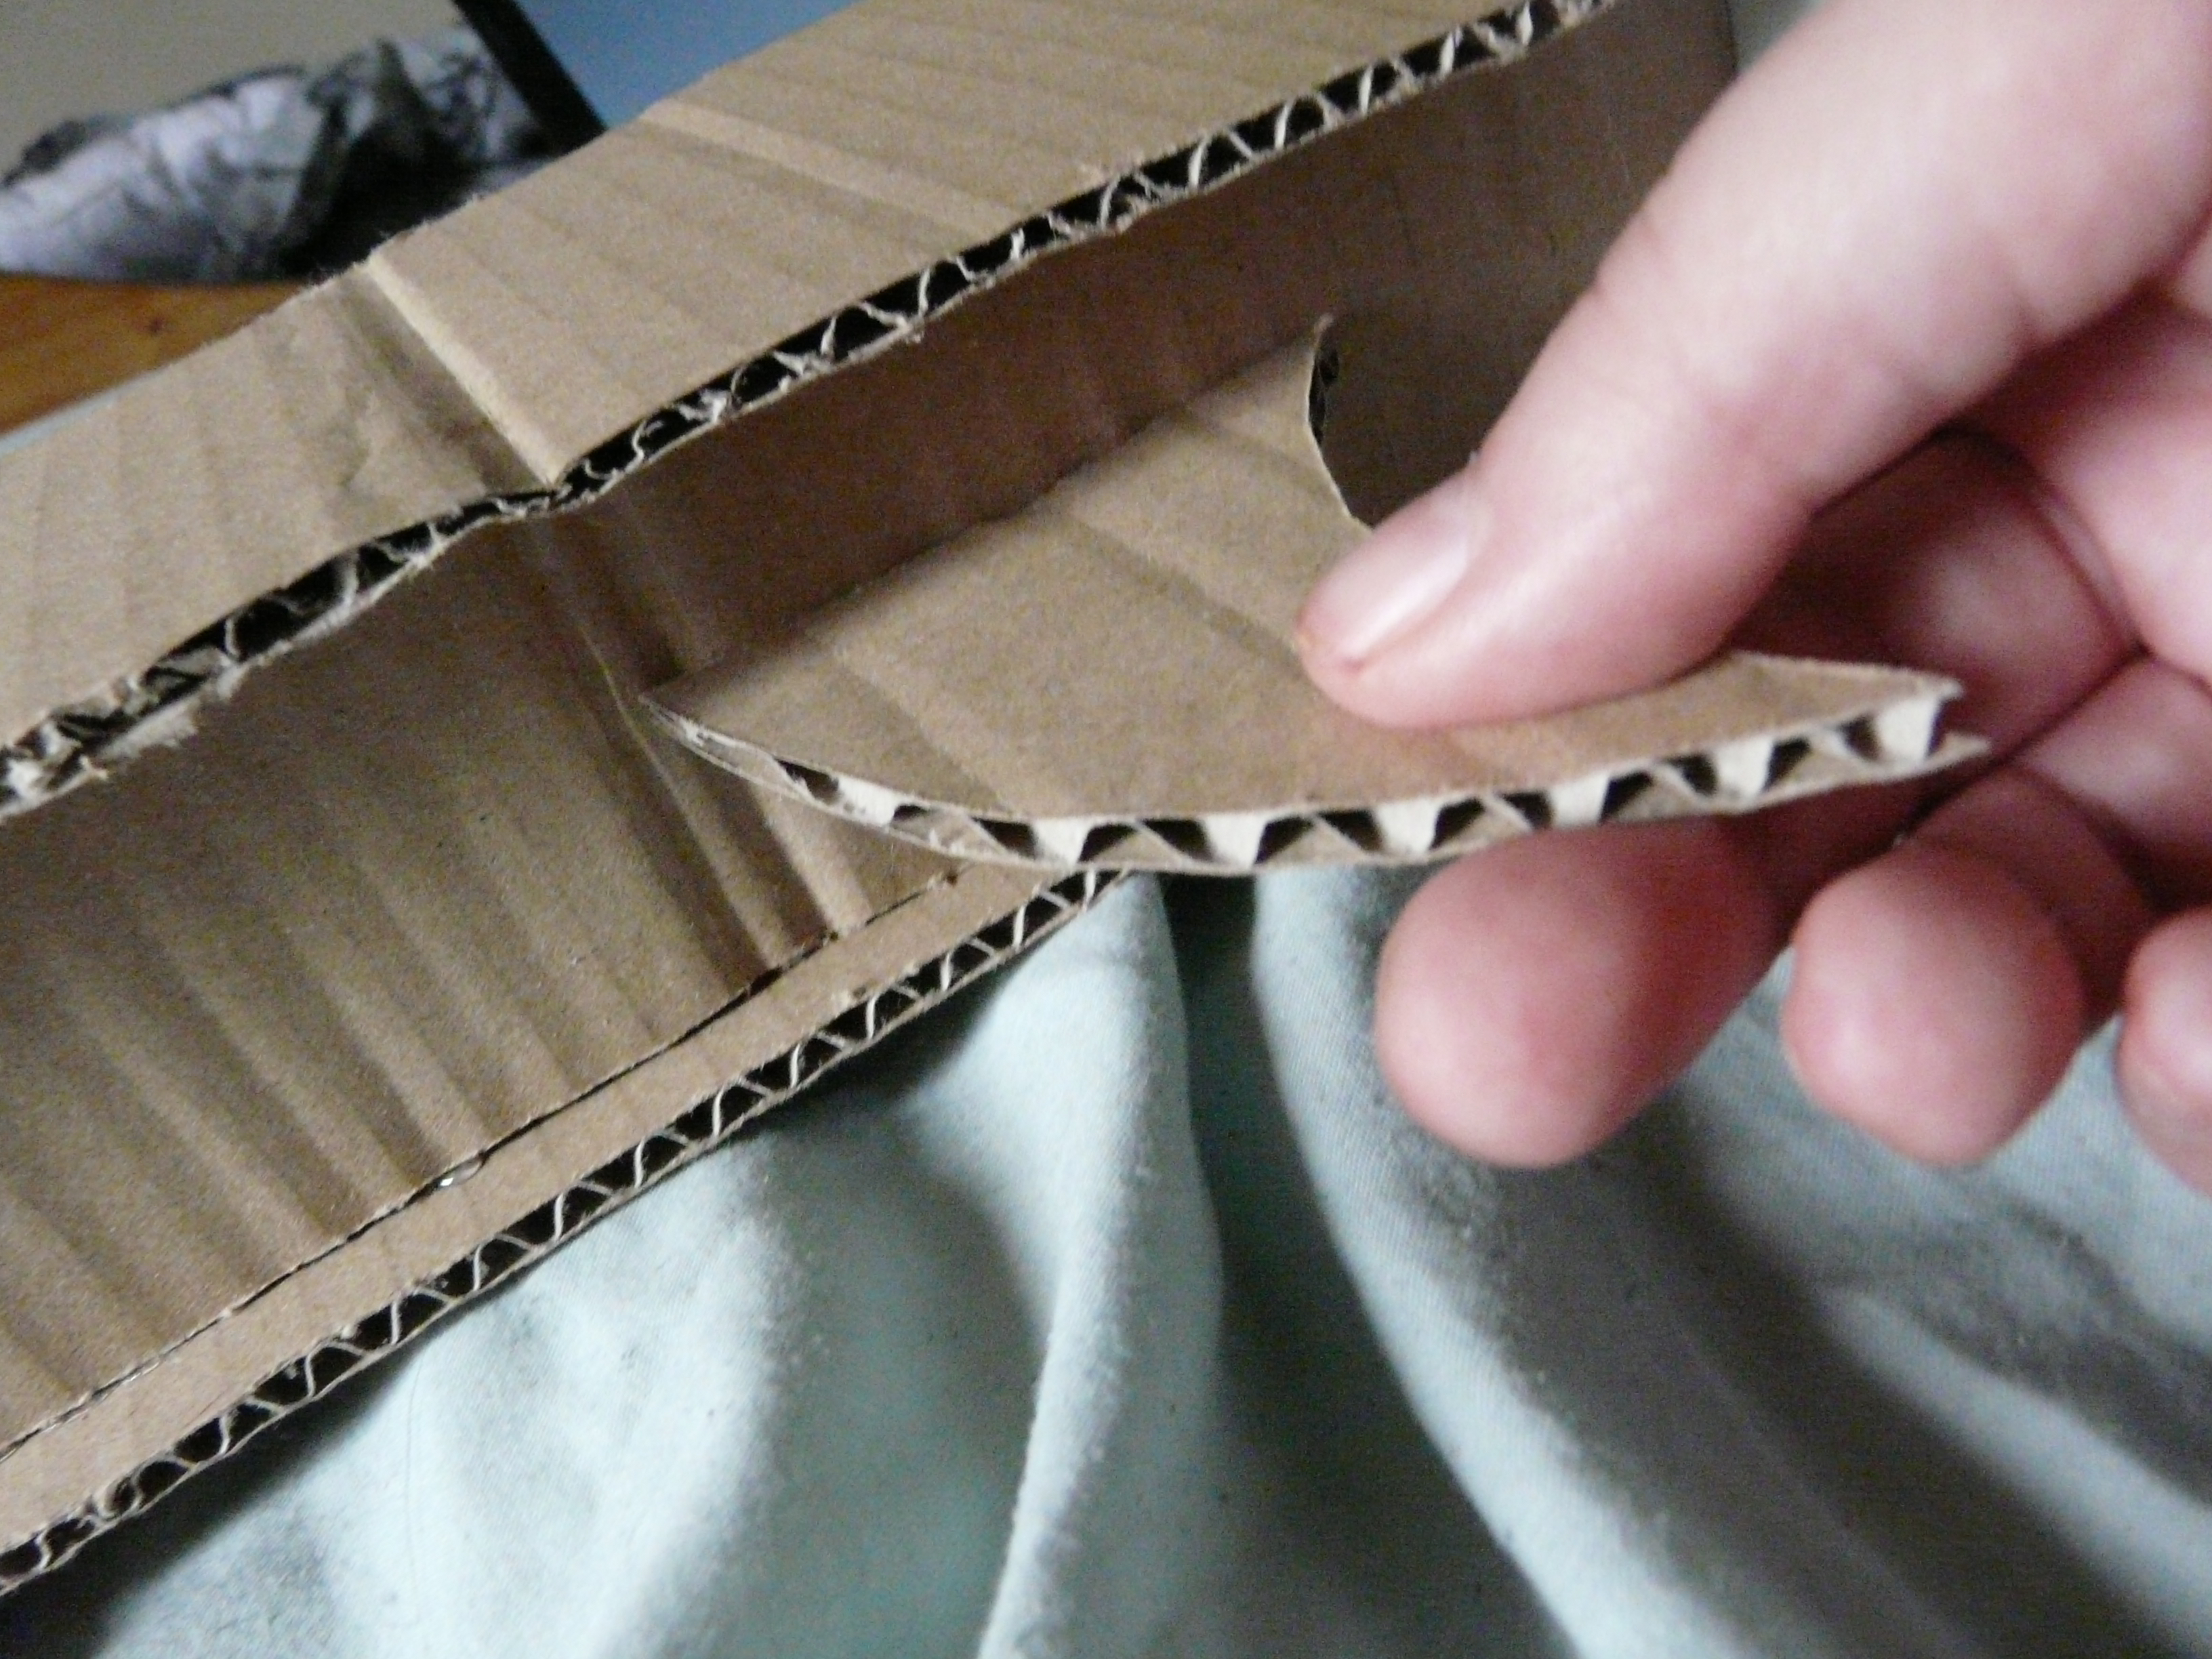
I then decide to concentrate on making the engine part because my carving foam is only a couple of cm thick I draw two rectangles the foam, both about 10cm by 15cm. I roughly draw my design on and once I have cut the rectangles out I then begin carving and sanding. I also cut out another circle to fit on top of this. Carving foam is not necessary for this part of the build, it can be done out of cardboard! Just draw your design onto cardboard and cut out.
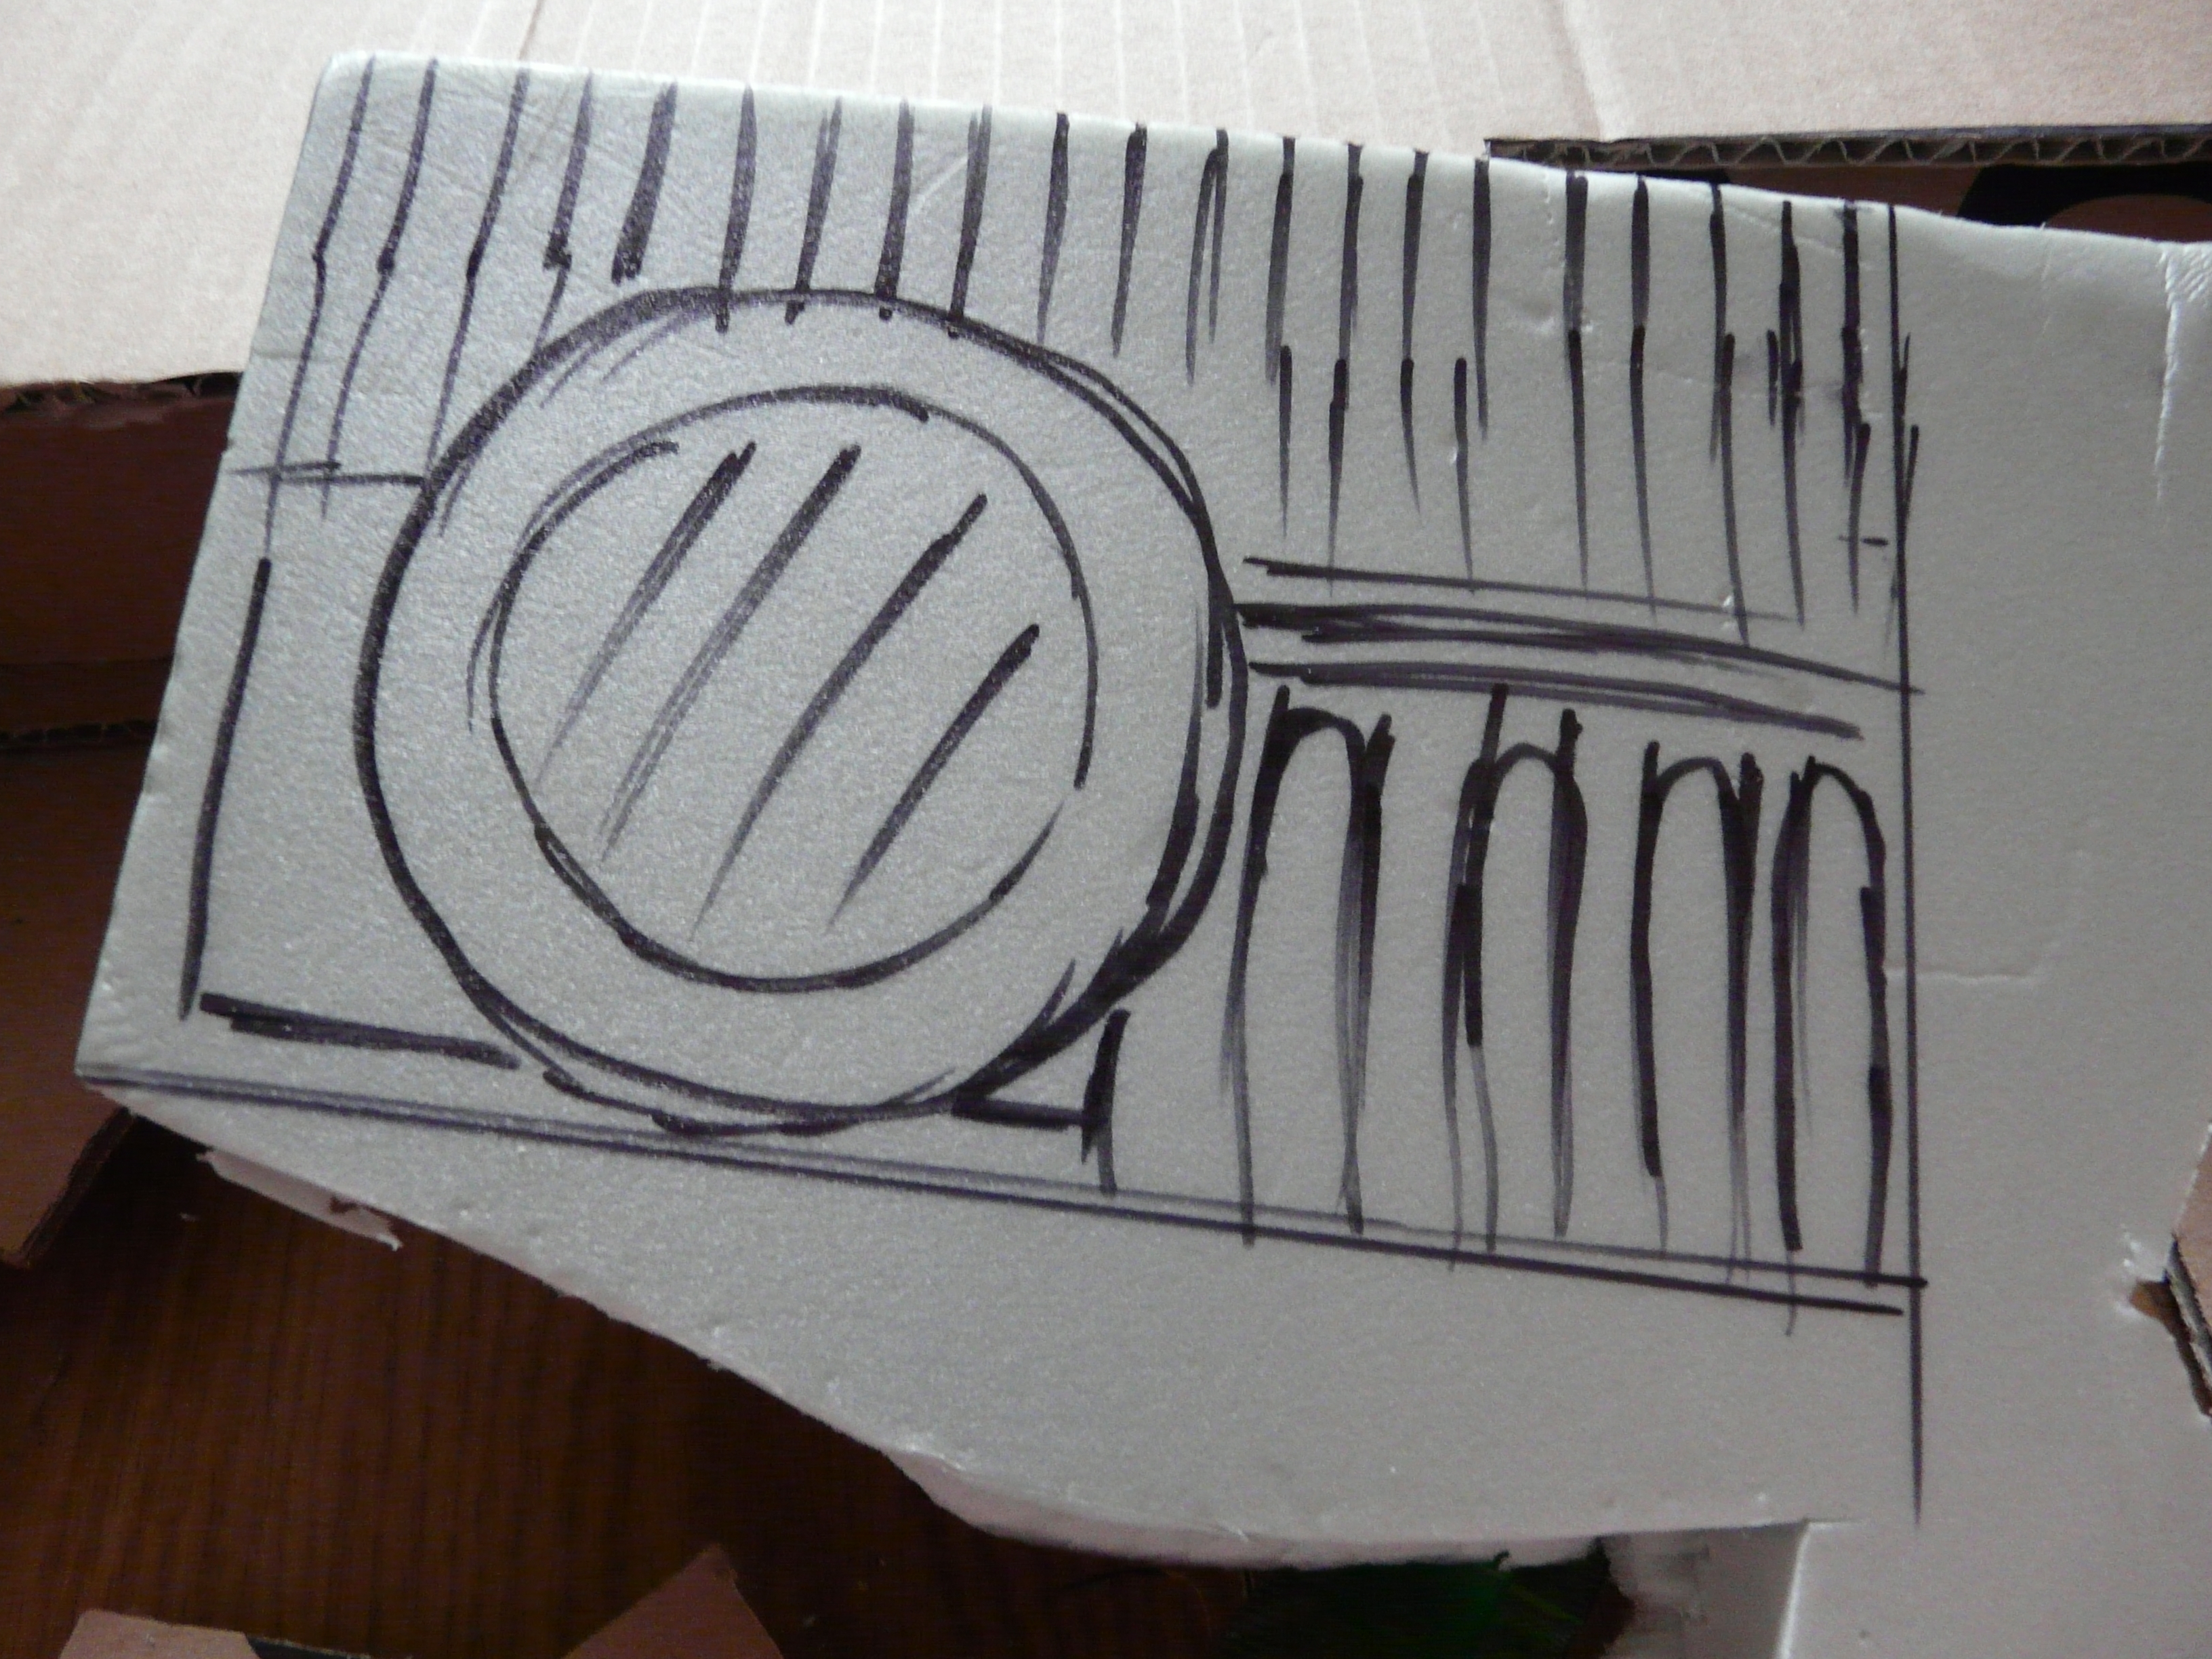
Once both sides have been carved out with your chosen design (I just carved grooves into the other side so both sides are different) I then slotted them into the gap so that I could measure the gap left. I then made them fit by measuring out some strips of cardboard and gluing them down the sides and along the bottom of the ‘engine’ I don’t need to cover the bottom because as we slot this into place and glue it down it won’t be seen! Once the engine is all glued together use your glue gun to stick it to the underside of the sword.
Don’t worry about any gaps around the handle of the sword, you can cover this with your paper mache later on.
Final touches
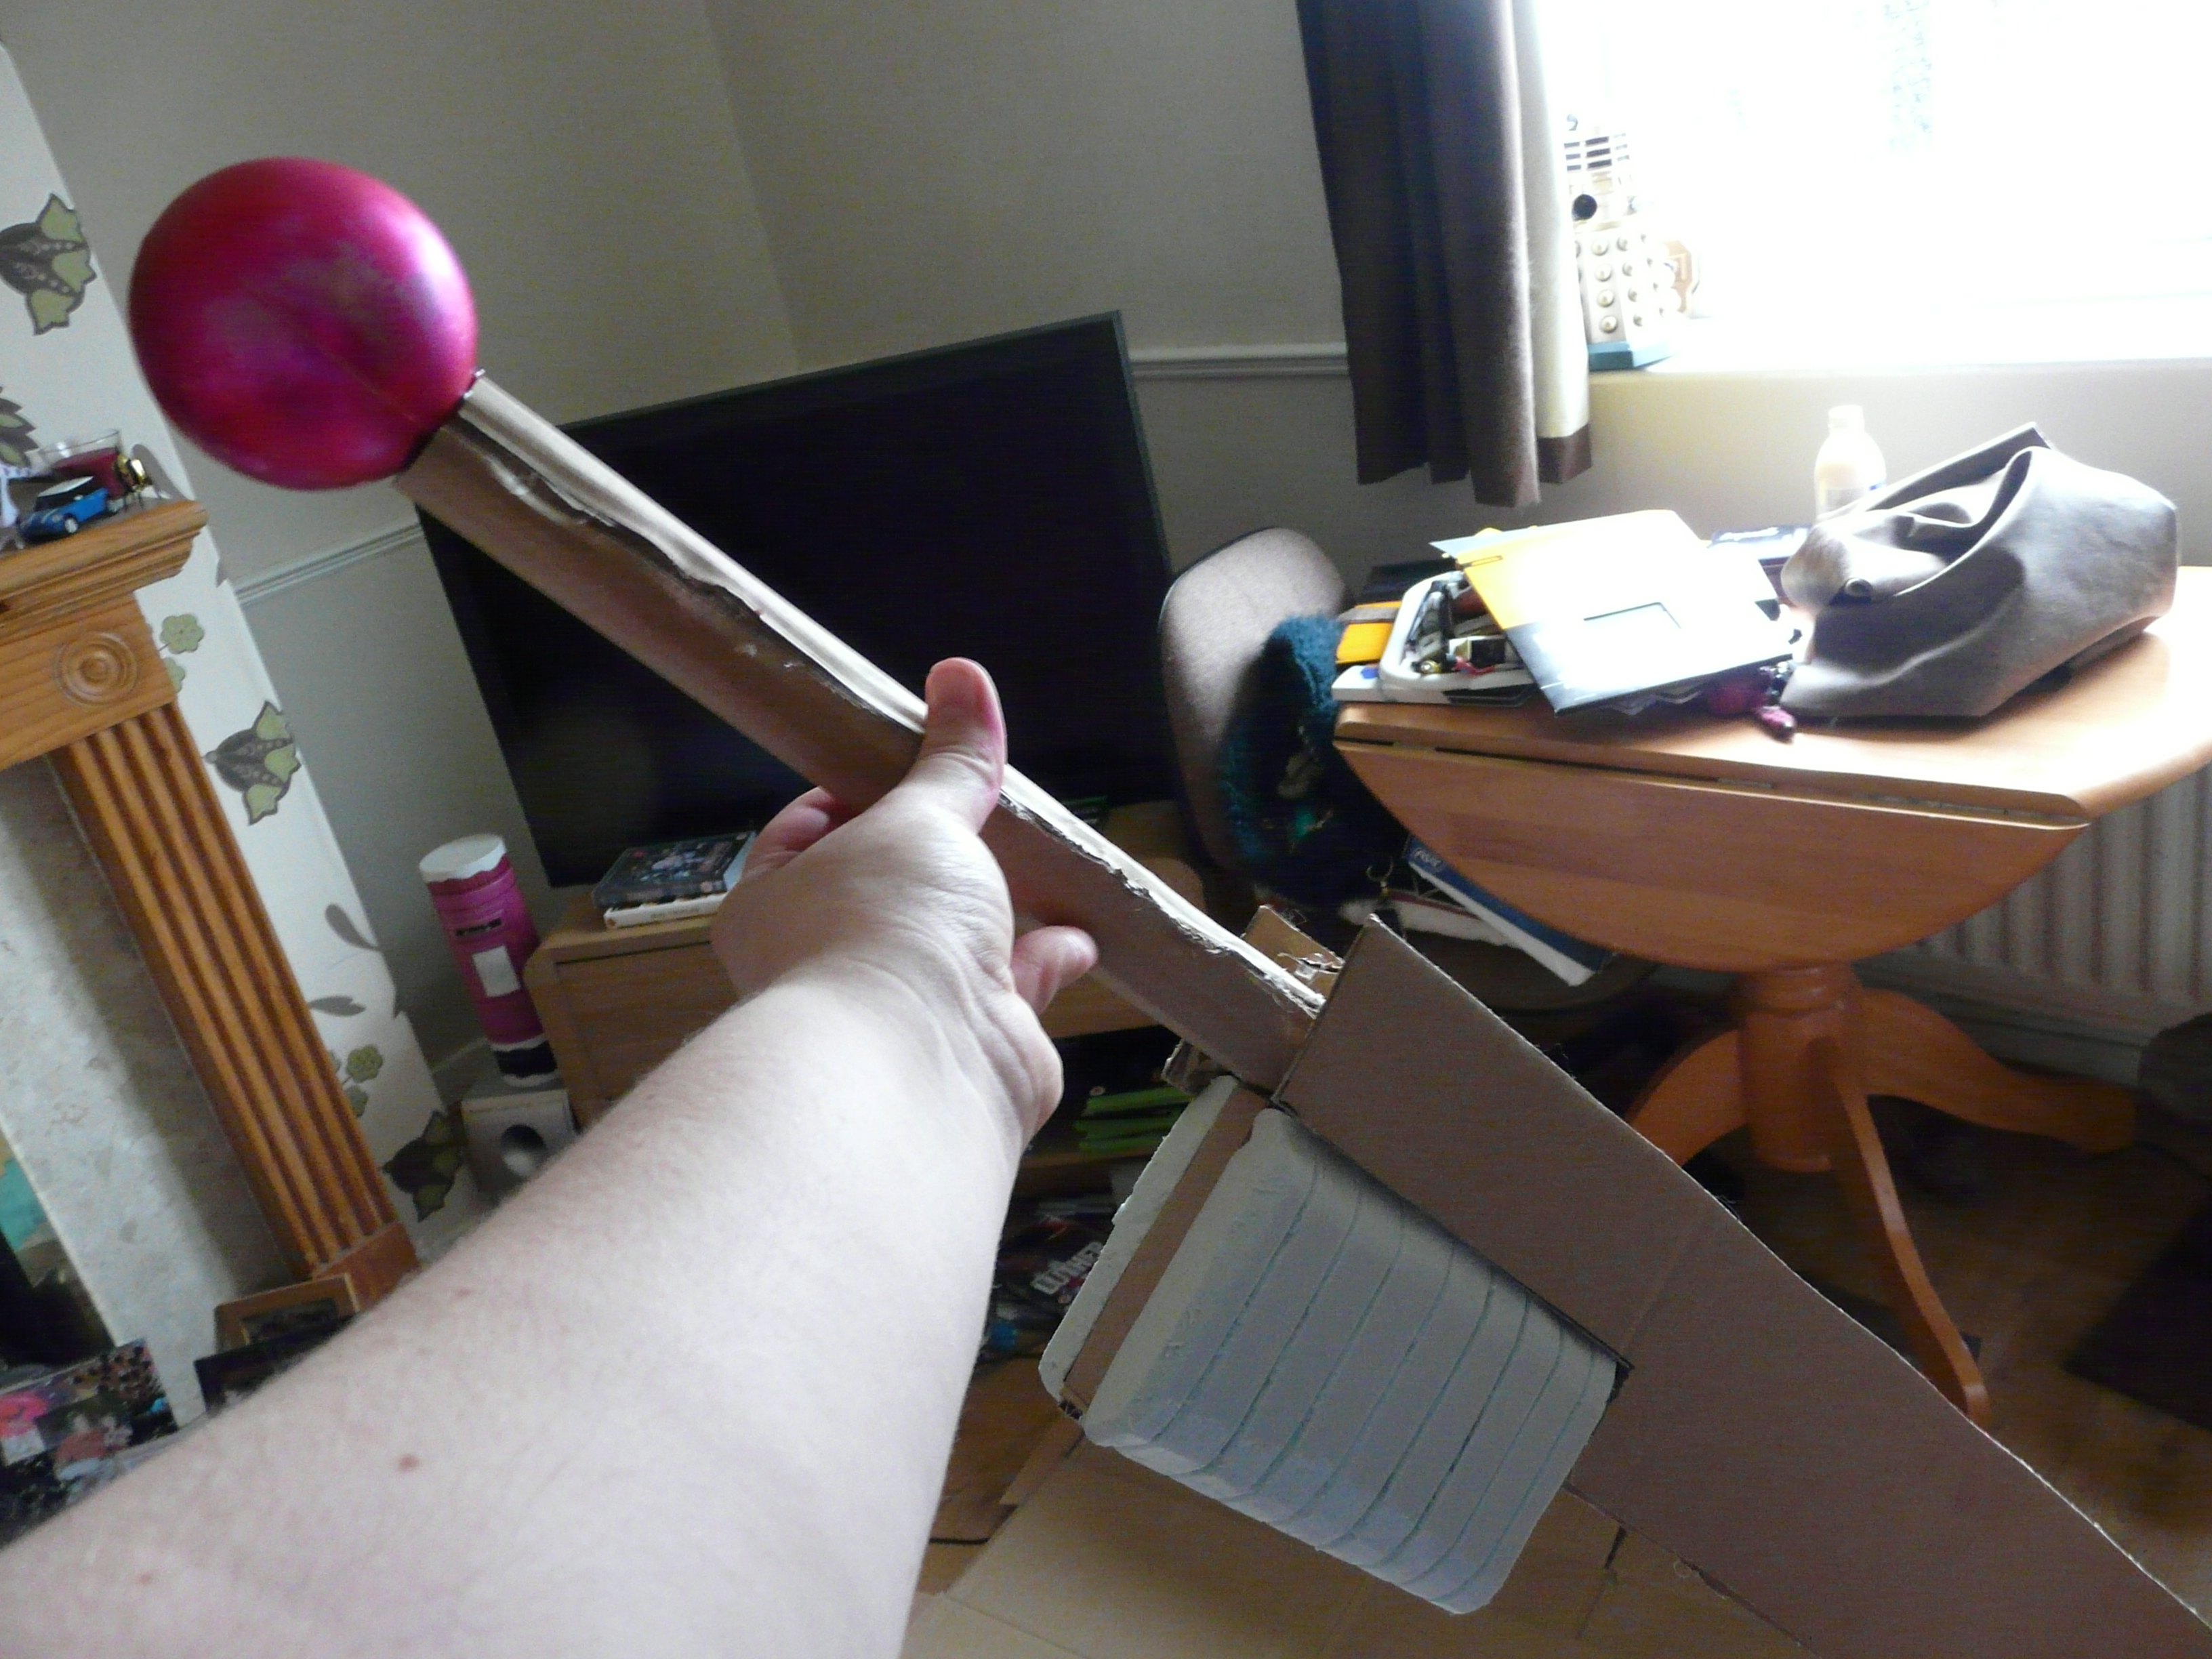
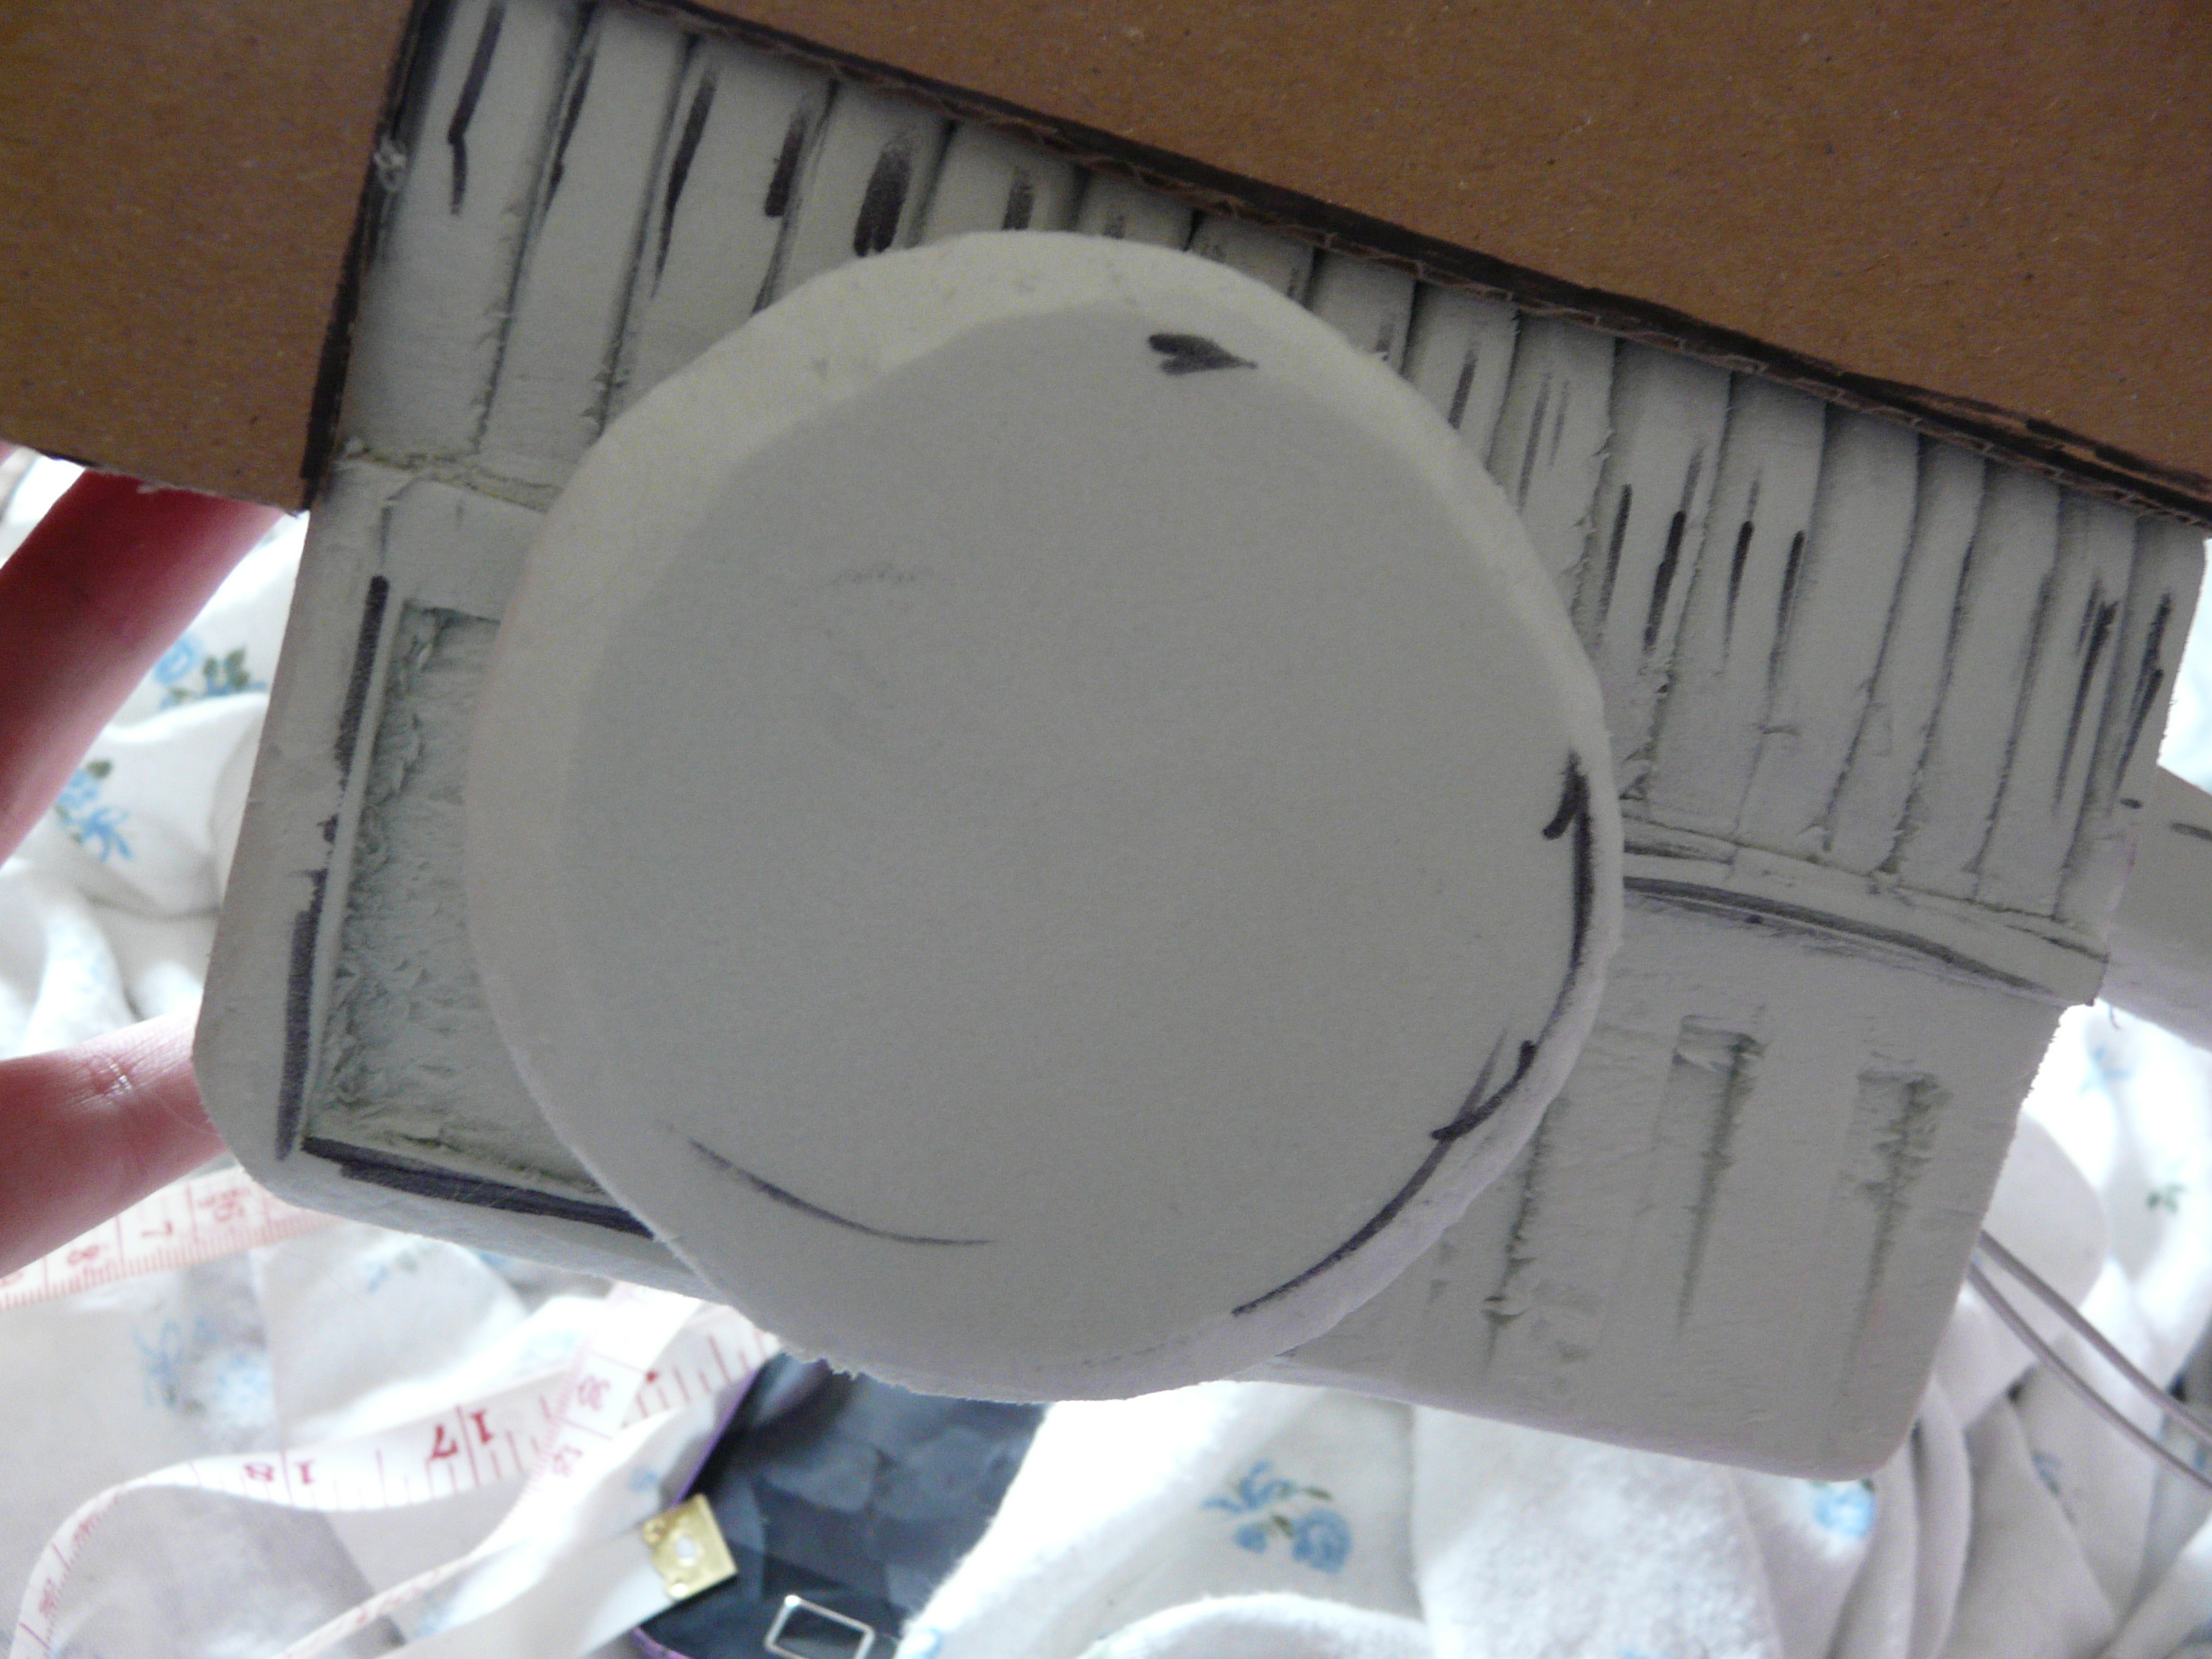
After this I spend a while working out how to make the circular bit at the end of the handle… I am just about to give up hope when the cat bombs past chasing one of his toys, which happens to be a bauble he stole from the Christmas tree! Obviously I would feel like the world’s worst criminal if I stole his bauble so I went and scavenged one out of the Christmas box. I used my glue gun to stick this on the end! It was quite handy actually as you can use the top of the bauble, which normally attaches it to the tree and slot it into the end of the handle! Again this could be made out of cardboard… I’m just lazy…

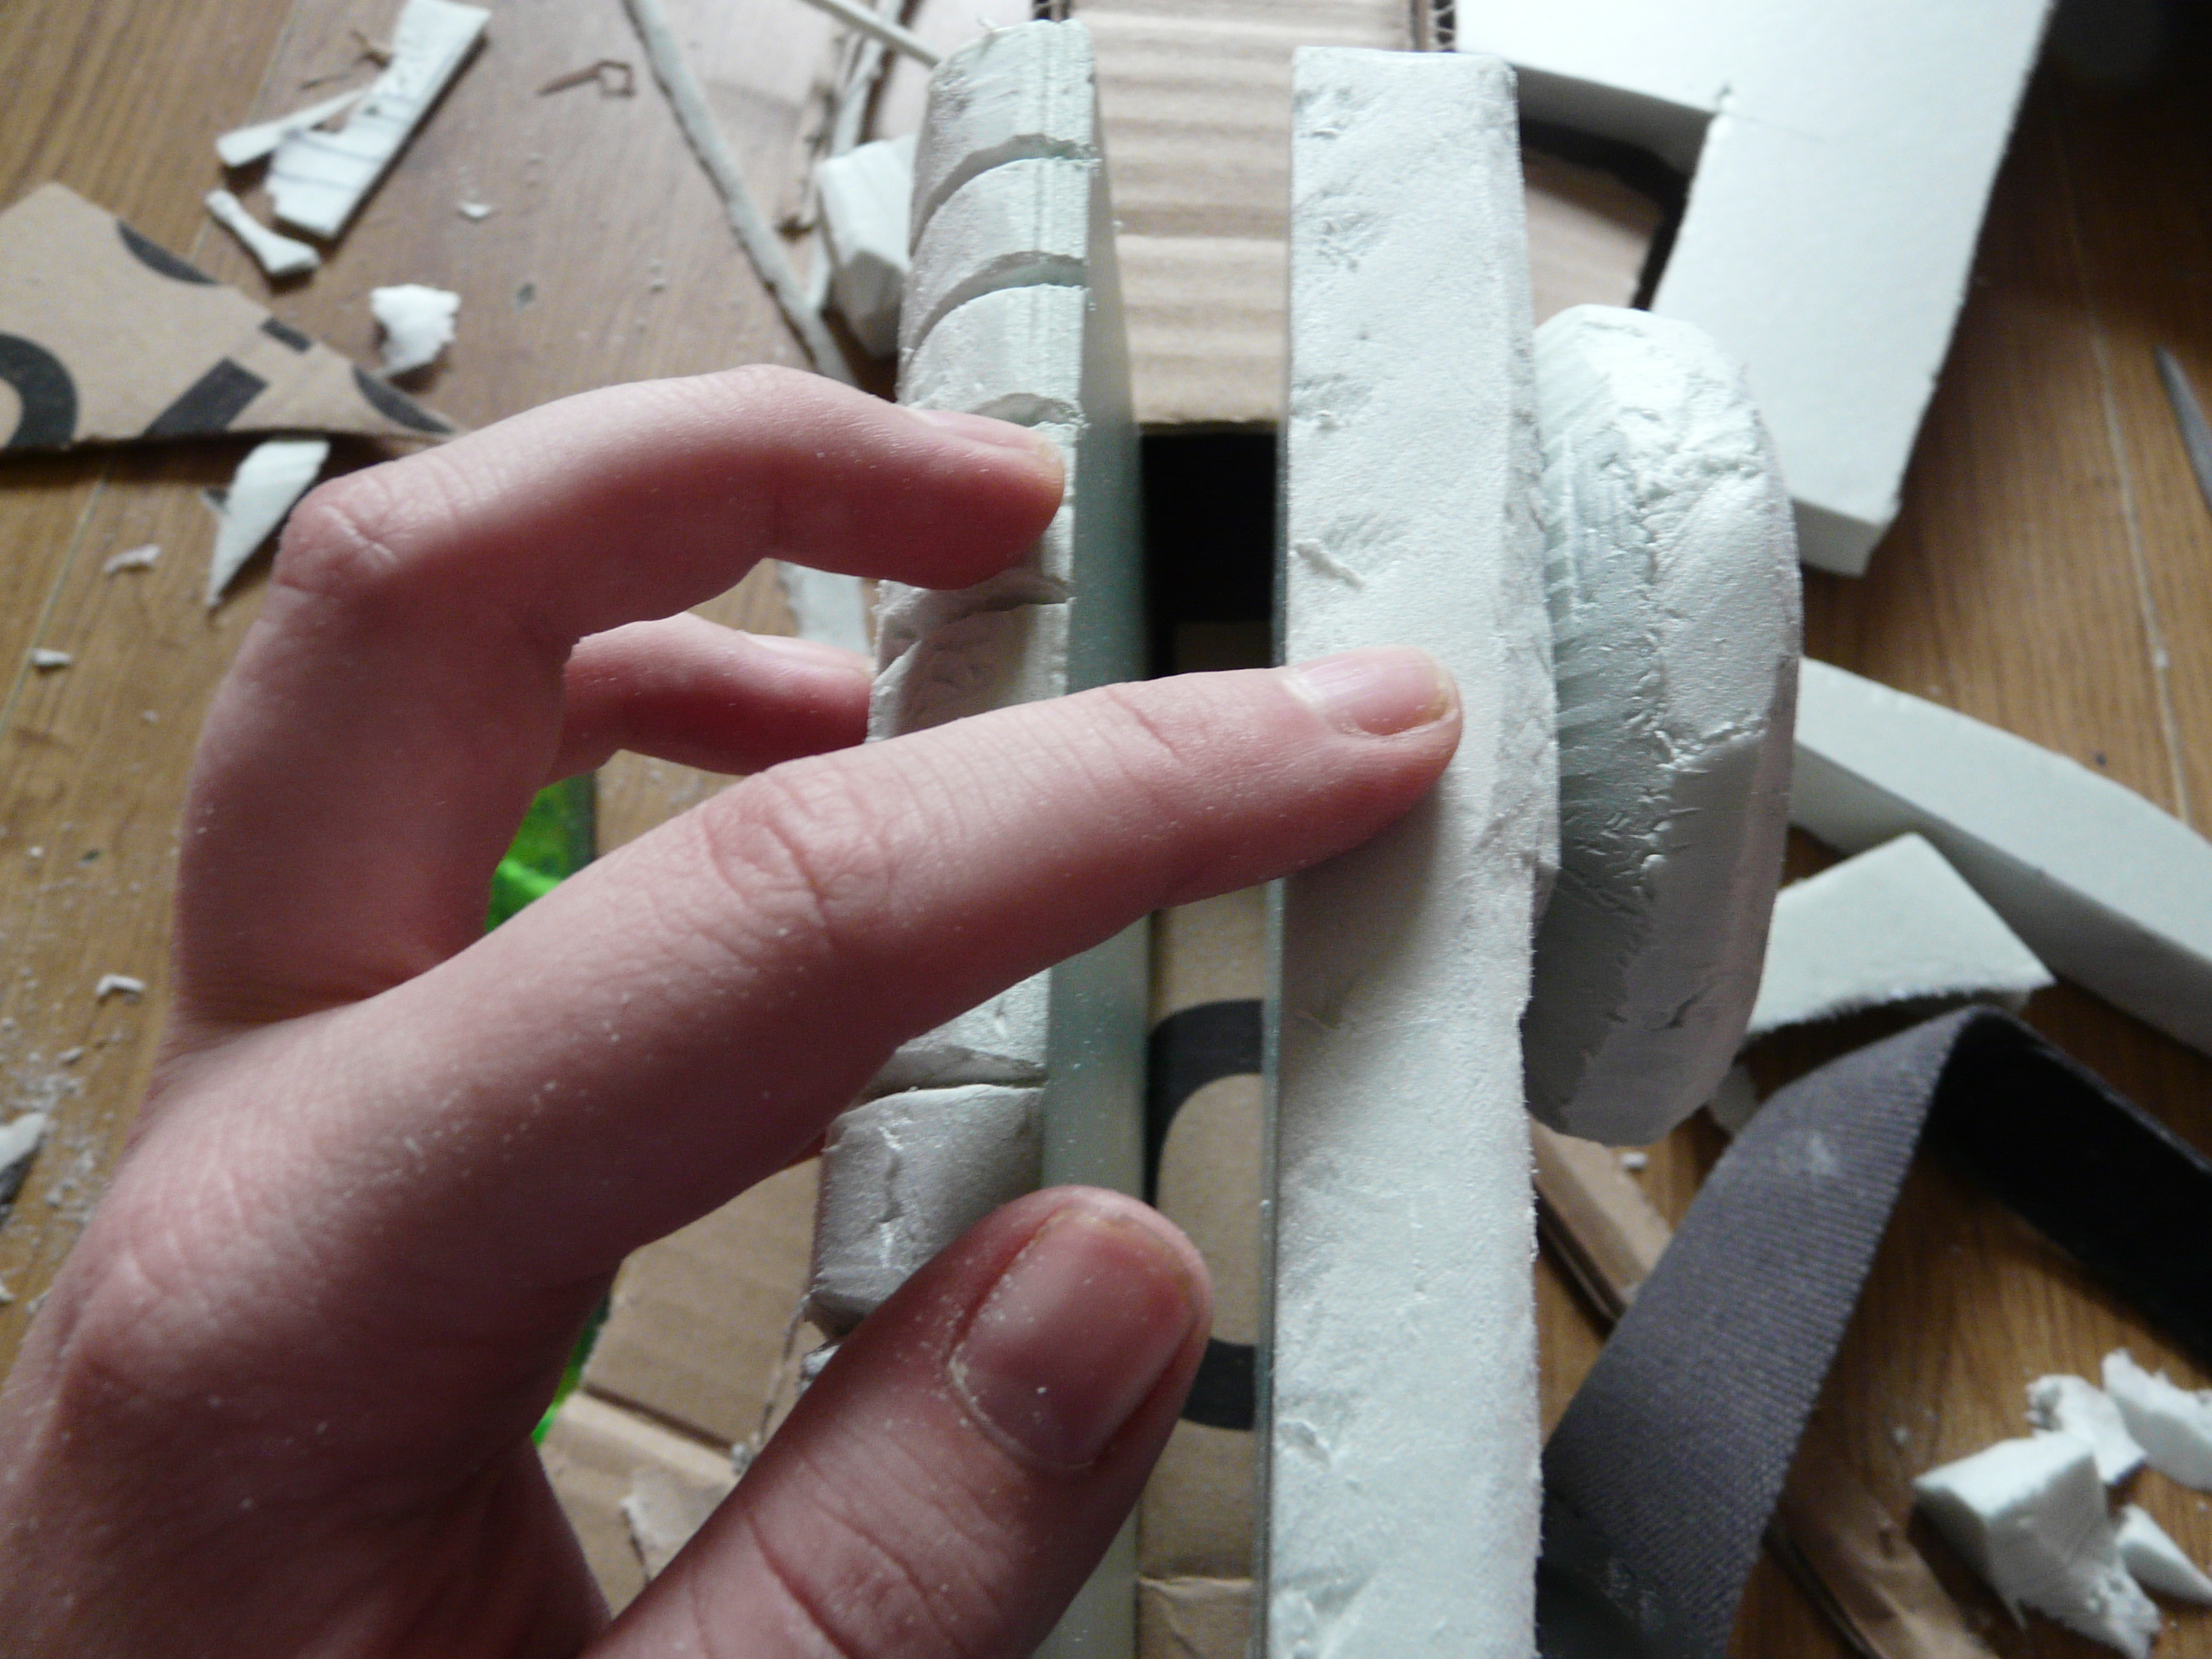
This bit took a lot of experimentation; I cut out a circular piece of cardboard with an inner circle that is cut out, it also has another circular outcrop for the wire to run through. I cut through to the middle circle so that I can just slot the handle through and then I glue this to the bauble so that the circular outcrop points down.
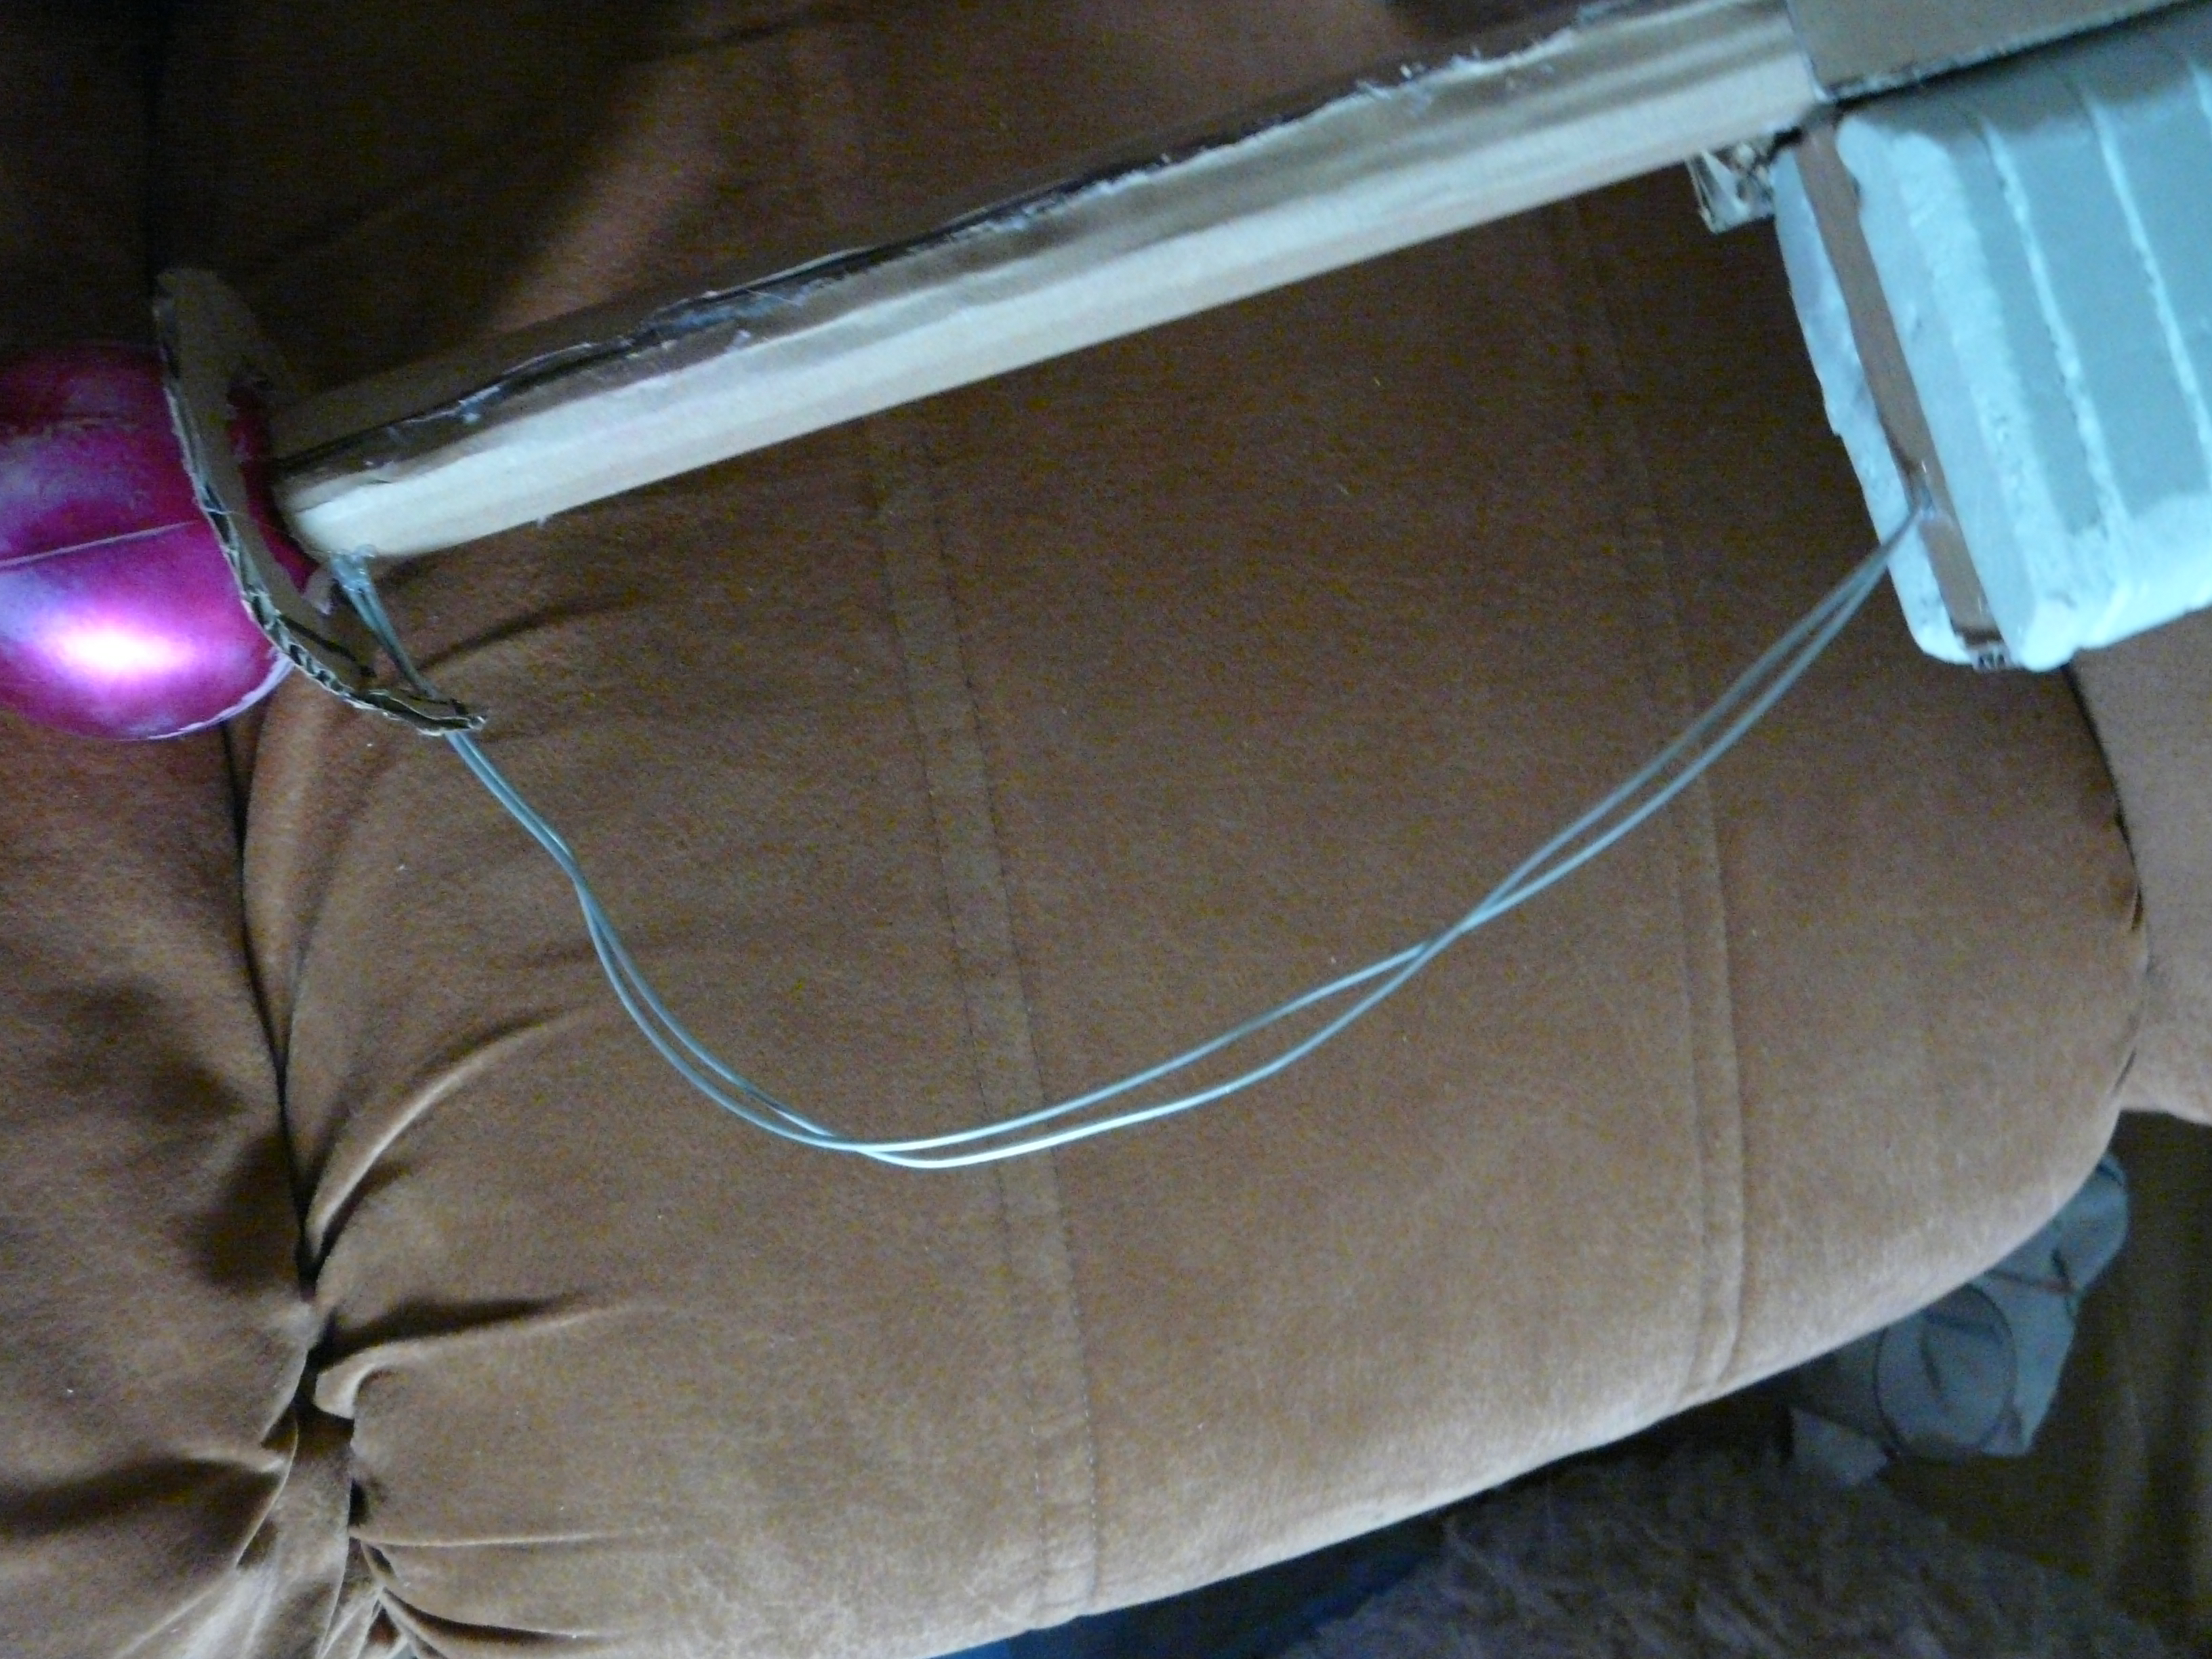
I then thread two pieces of wire through this and into the cardboard keeping the engine together (about 3cm up from the bottom) the wire should pierce the cardboard easily. Glue one edge to the cardboard below the cardboard and glue the wire where it enters the cardboard on the engine.
I then draw the switch to power the chainsword on to carving foam and carve this out. Again this can be done with cardboard. And then I glue this to the engine below the sword handle.


I stick two circles of cardboard to each side of the area above the curve of my sword to later act as bolts. If you have screws/ nails/ ect that have big enough heads to look good on this that would be absolutely epic looking! If this is the case make the holes for them and add them after the model had been painted!
Lastly I draw and cut out the shape of the teeth. I have decided to stick these on after I have painted the model! It will make them easier to paper mache and paint and it will also make the prop easier to paper mache and paint! So I’m going to keep these separate until the very end of completion.
So, folks, that’s it for the build.
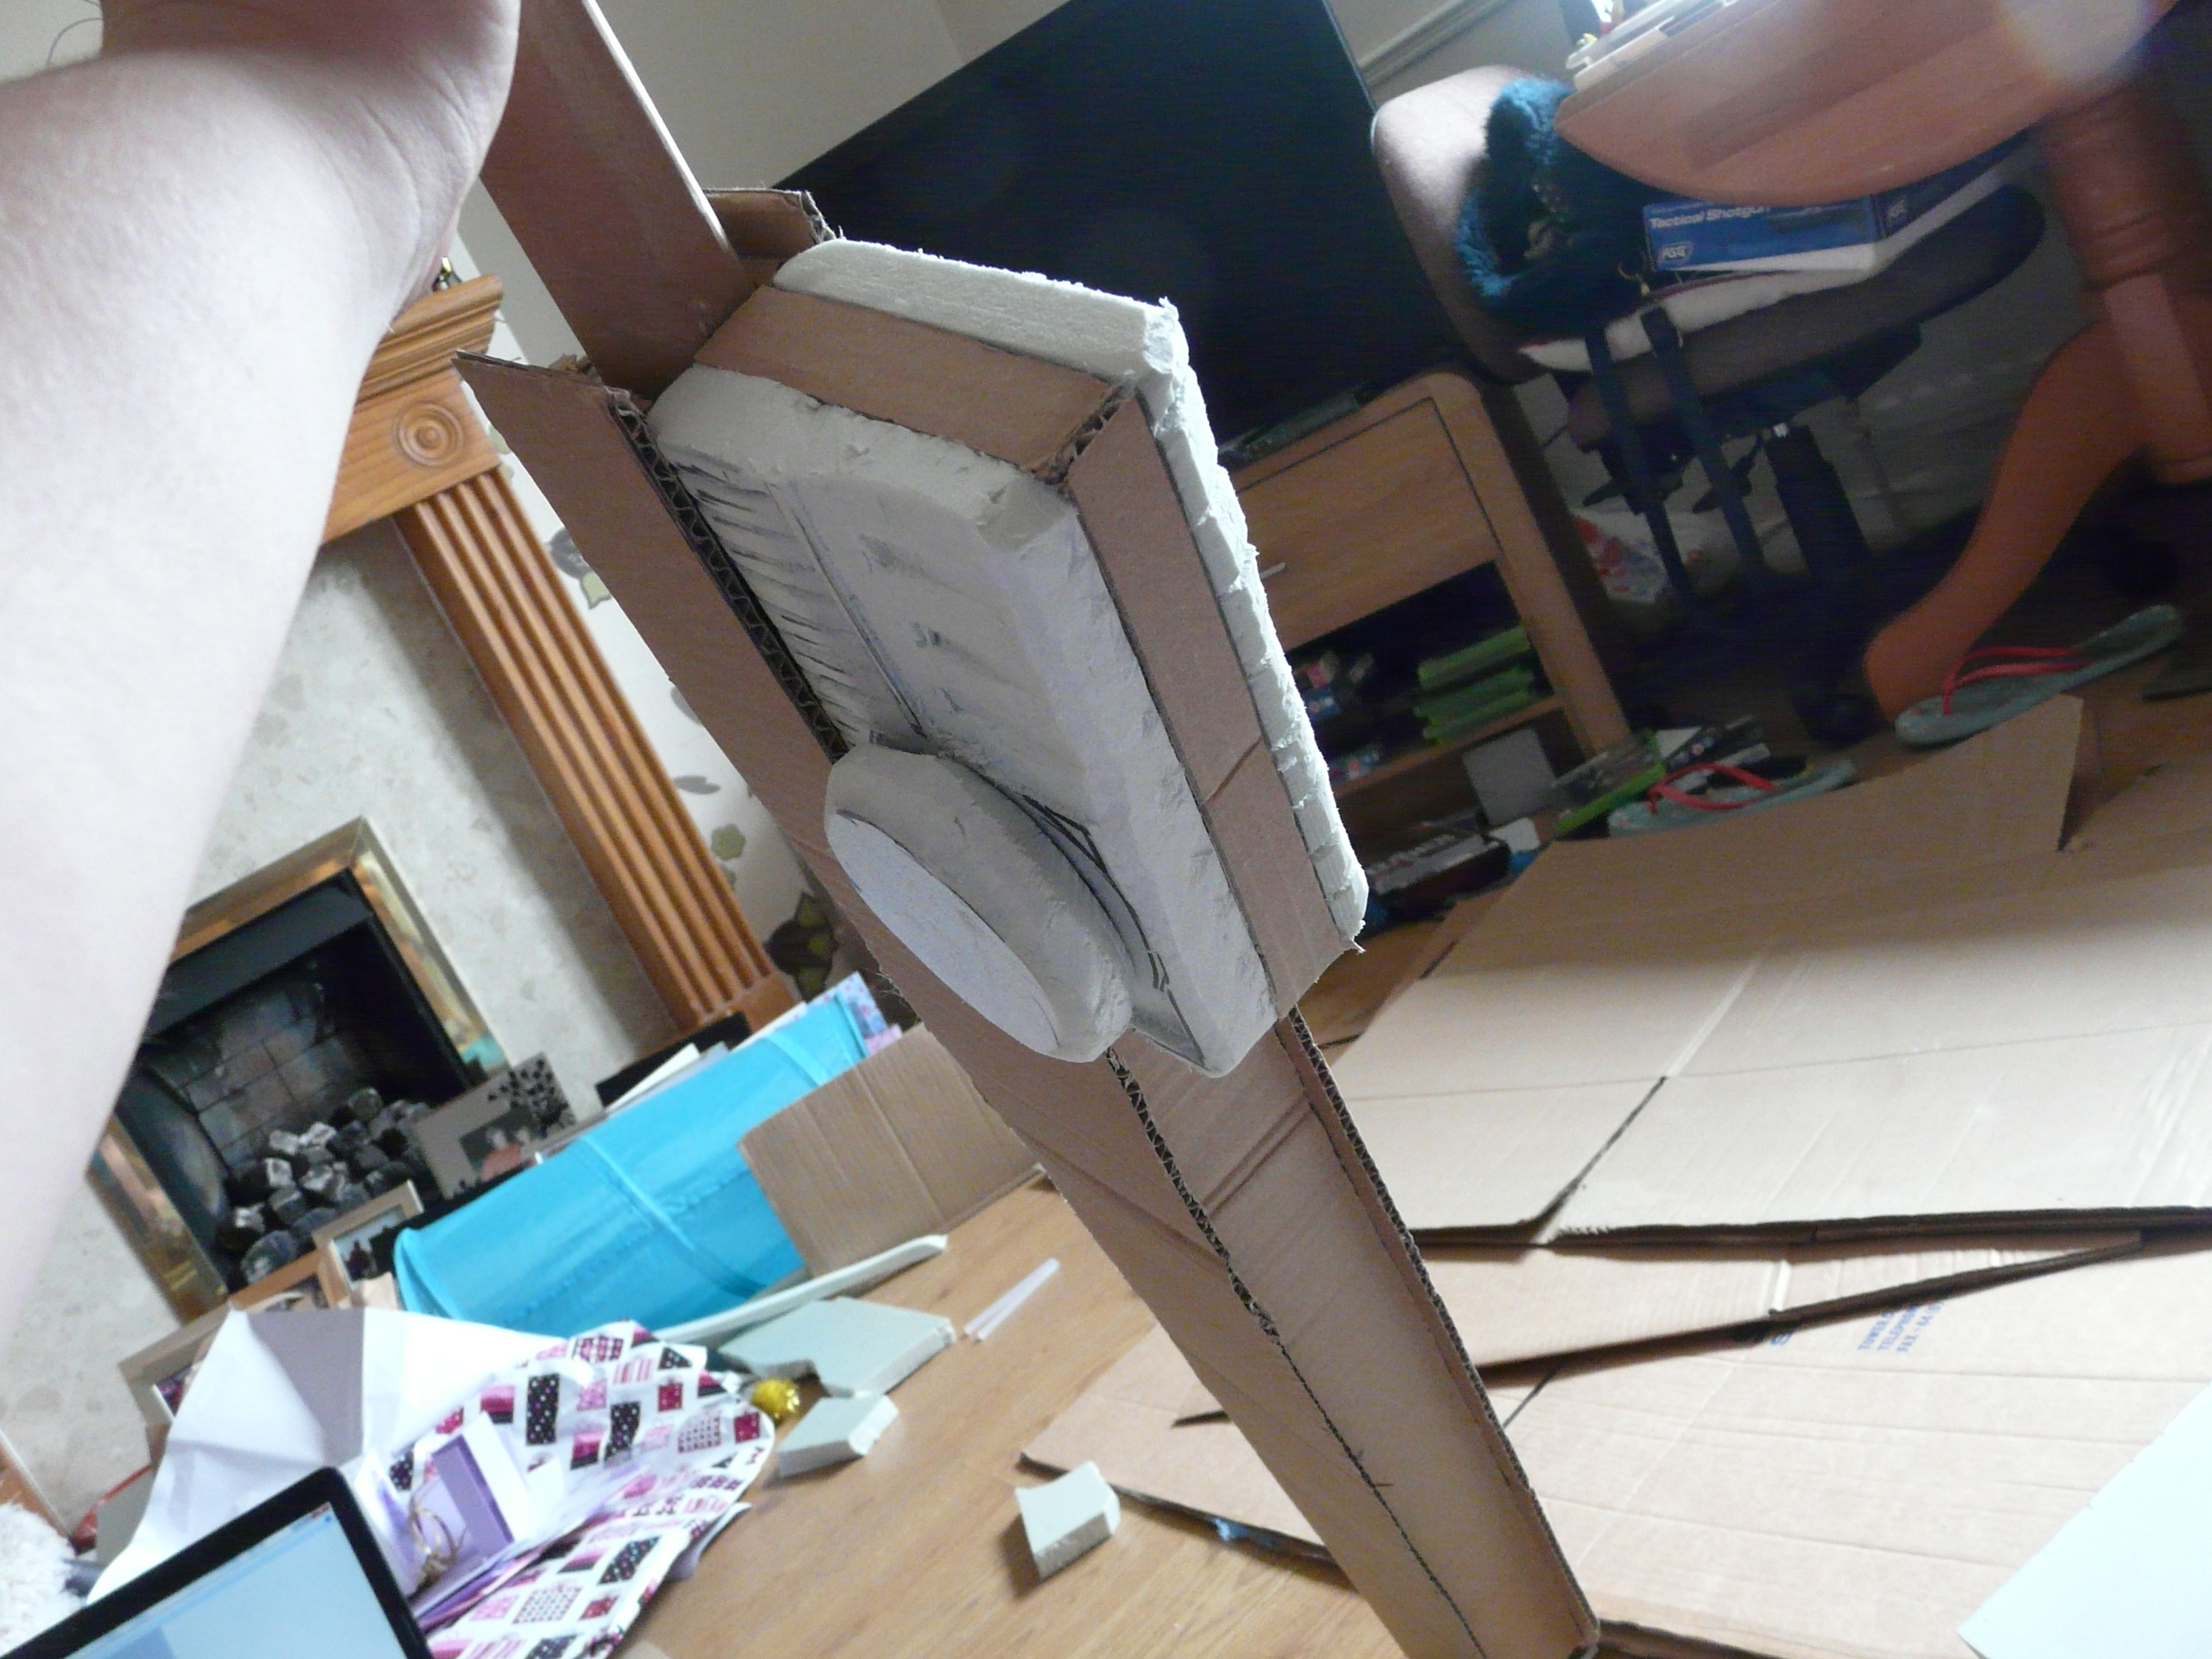
So far
Next steps
I know the cardboard doesn’t look brilliant at this point but what I am going to do before putting up part two is I am going to papier mache this bad boy until all the kinks are gone from the cardboard and I am then going to cover this with the Gesso and sand it down. This process can be seen in the following tutorial;
http://firelilycosplay.deviantart.com/art/Paper-Mache-Armor-and-Prop-Tutorial-277344661
Part two, the painting of the sword, will come next week!