Firstly I would like to apologise for the delay. I hit a few glitches over the past couple of week of both physical and mental kind. I am fairly new to this whole cosplay malarkey so I am learning as I go along. I am learning that you should get plenty of all the materials and in plenty of time. I have learnt not to take criticism so seriously because for every single person who says something negative there’s another ten out there that focus on the positives and are loving what you are doing.
So let’s get to it.
Part two of the chainsword build!
So previously to this you should have prepped your sword using the tutorial I linked to in the previous article, this can apply to all forms of props, you can make your armour or other weapons using this method!
For part two of this tutorial you will need;
Spray paint/ acrylic paint
Paintbrushes
Cardboard
Leather strips
Hot glue gun
Any other bits that make your sword look more realistic (Eg I added some eva foam to make a two headed eagle!)
So here we go!
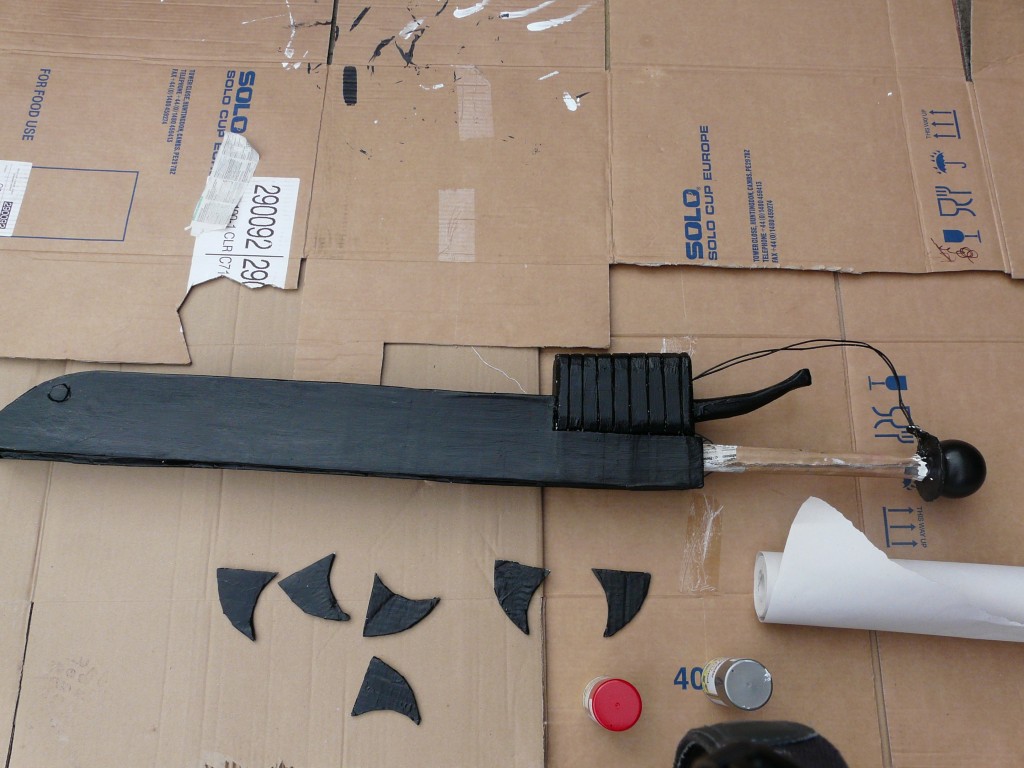
What I like to do before I start painting props properly is put down an undercoat of black. I find that paint is easier to put down on top and requires less coats!
Base coat of paint
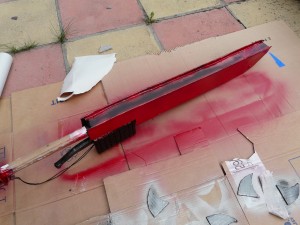
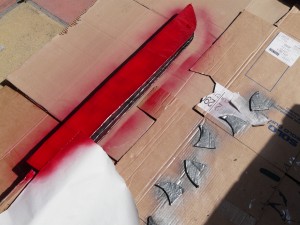
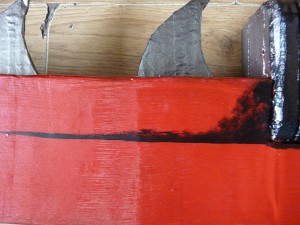
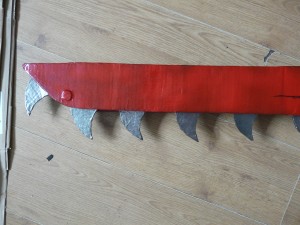
So to start off with if you are using spray paint, what we need to is go outside! So I took some cardboard outside and layered my patio with it so that I wouldn’t get red paint absolutely 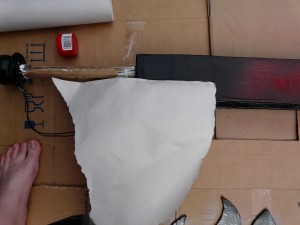 everywhere!! (My hurdle at this point was that the weather was in an exceptionally mardy mood for a few days! So I couldn’t get out to do it!) Make sure that you have covered plenty of space, especially if you are renting your house! And then follow the instructions on the can. So this was the first time I have used spray paint and I kind of run out about three quarters of the way into spraying everything red… So One side looked a tad bit blotchy but once it dried completely it looked a little better. I also spray my chainsword teeth, switch and engine a dark silver colour, as well as the teeth of the chainsword. Using paper to cover the areas I didn’t want painting.
Detailing
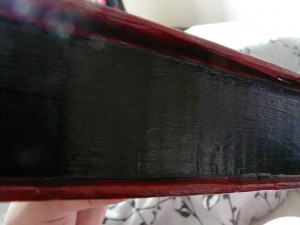
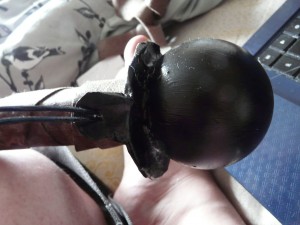
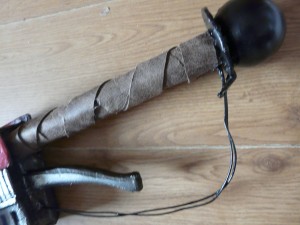
Once this has done and everything had a few layers of paint on I brought everything back inside. After allowing the paint to dry I neatened the black paint around the top and bottom of the sword and painted the end of the handle black as well as the wires running through to the engine.
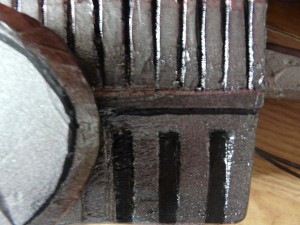
I then moved on to add some detailing to the engine because I didn’t feel like it had enough depth so I took my black paint and filled in some of the indents and added a few details I also did this to the chainsword including the sliver bolts.
I wanted to see what the leather around the handle would look. I wrapped around two lengths of leather so it looked a little bit more 3D I used my hot glue gun to stick this down. And as my hot glue gun was out I stuck down the teeth on the sword.
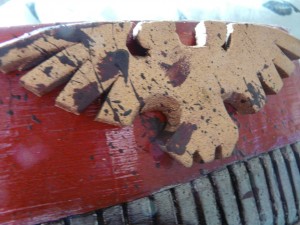
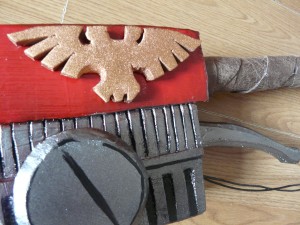 I accidently left some marks on the red paint (which I had ran out of) so I made a two headed eagle out of EVA foam. This could be made out of cardboard. Once I had painted it gold I stuck this to the sword too.
BLOOOOOOOOOD
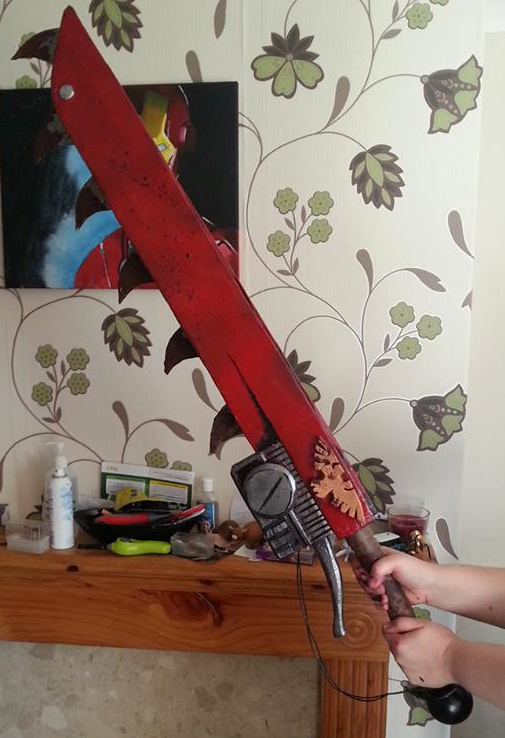
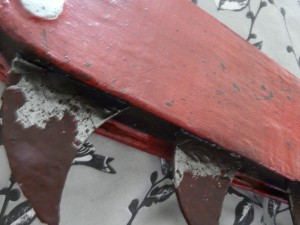
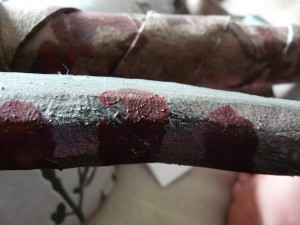
So at this point it should have been finished. But I was kinda disappointed with how the teeth looked and was disheartened when I was told they looked like cardboard covered in foil. So I decided to mix some paint to look like blood and basically just went OTT flicking paint all over the thing. I then thought that if the sword was soo gummed up with dry blood, the handle would be too, so I dipped my hands in the paint and put my handprints on the handle.
I also bloodied up our sparkly two headed eagle.
So again this is the finished product.
I don’t think it’s bad for a first attempt! And hopefully I will improve over the next few years as I progress in cosplay.
Note:
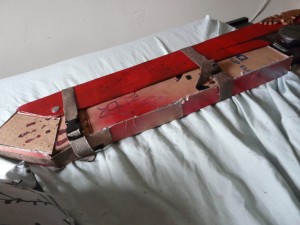
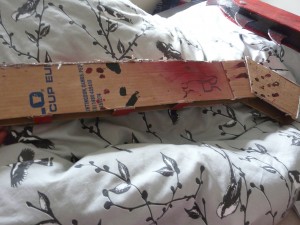
I took this to my parents to see how sturdy it was during travel and well… Half of the teeth fell off, so I reinforced them with extra glue and made a cardboard casing to go over the teeth. This I just made out of cardboard and some leather straps. Its not much as I plan to make a bag to carry the whole thing within. So the cardboard encasement wont be seen!


