
Okay, so I have been promising the Big Cheeses at Geek Pride that I would write this blog! So, finally, here it is. My Borderlands 2 inspired gun.
Before I start, for you geeky people who demand exact replicas, this is a piece of art rather than a replica gun. It is not meant to be a prop from the game or anything. Also be kind! It’s the first time I have posted anything to such a wide audience! This gun was done for my other half for our anniversary. And it’s also a bit of a thank you for everything he has brought to my life over the past year and a bit.
So, yeah, mushy stuff aside! My partner loves airsoft so basically, instead of being satisfied by Battlefield he chooses to go out into dilapidated buildings and shoot big BB guns at other men. It’s basically big kids playing at war but with extra pain (the BB’s sting big time!) He also loves gaming and our favourite game to play together is Borderlands. I chose this particular Bandit shotgun design from Borderlands 2 as he is always drawn towards it no matter his character class.
Here’s a bit of a walkthrough what I did to create my Borderlands 2 Bandit gun.
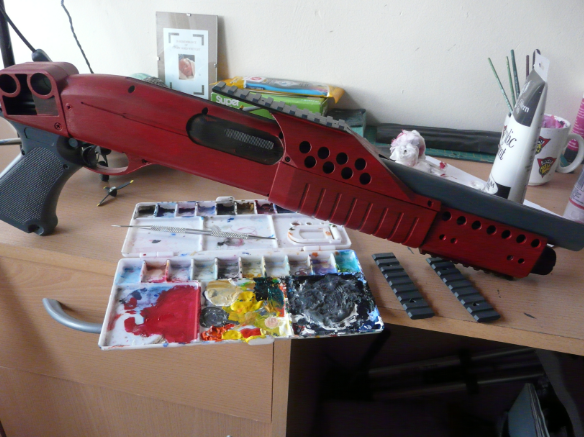
1. Base colour. I found a perfect colour red, didn’t need to mix anything! Which is always a plus! I left some parts blank. These are the parts that started off grey or a rust colour. It took a lot of coats to make the red bright enough though.
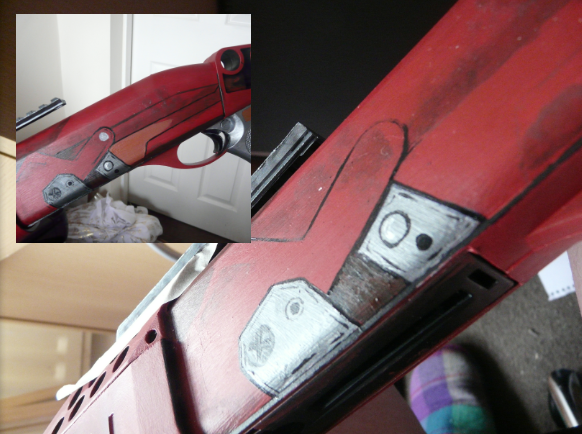
2. (couple of hours in) I began to add some designs on the side. I use really dark block lines to outline the sections to make it look cartoony. It took a while to get the shading right. I went through a moment of thinking that I had completely ruined the whole thing… I used grey paint which just looked horrid (this was swapped for the silver), the shading looked like someone had smeared it on with their forehead and I tried using masking tape to go round the sections so that they were perfectly edged and that the black outlines were perfect. As I was using a paint brush it didn’t work. So everything on the gun was hand painted. I used nothing more than a paint brush and my fingers for the shading. (I have started to shade things with my fingers rather than a paintbrush… Yup)
3. (about six hours in) Once I finished the side and painted the gun handle silver I felt that it needed something a bit extra so I decided to actually put to use the masking tape by taping strips of it around the handle. I also used some plasters… spot them? This was the point where I actually decided that it actually did have the beginnings of a Bandit gun.
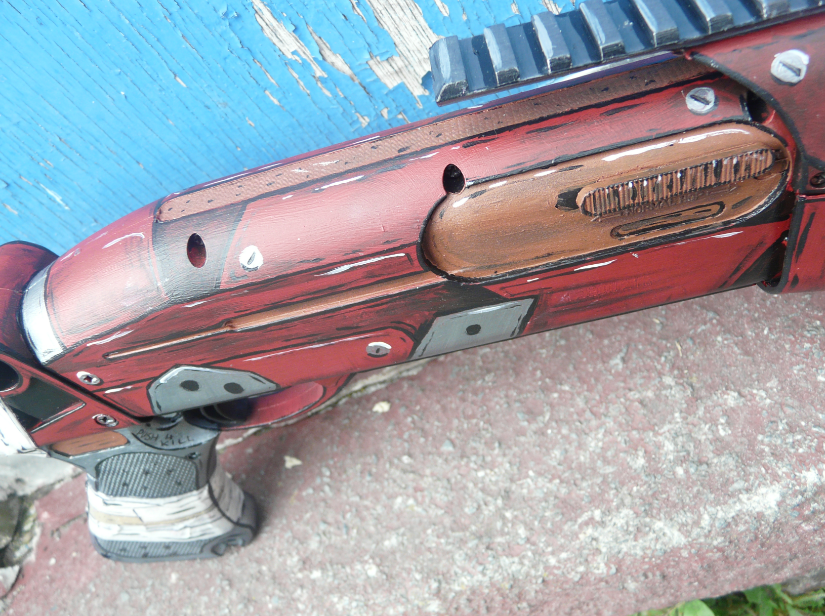
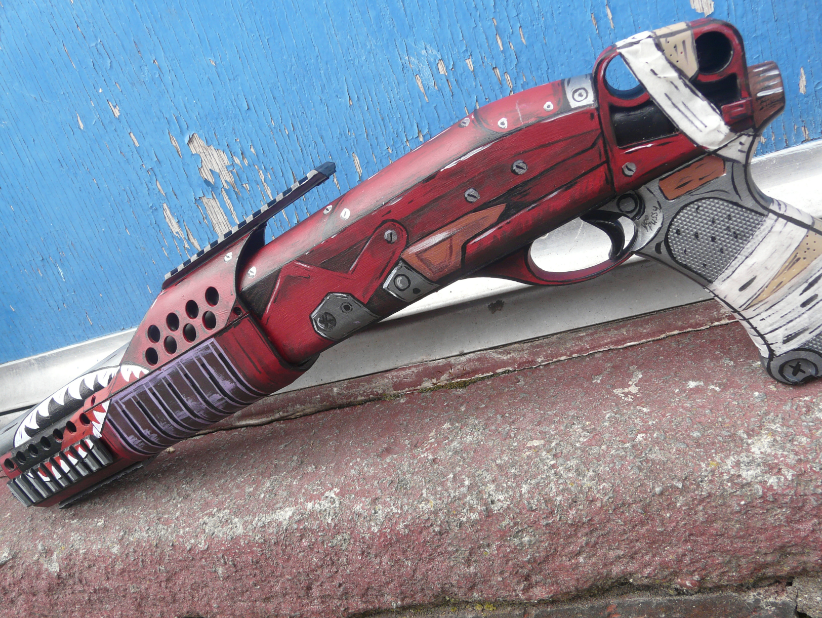
4. (about 7 hours in) Worked on the other side. Added a nice brown area so it looks a little bit more cobbled together. This side happens super quickly as I now kinda know what I am doing! Emphasis on the kinda.

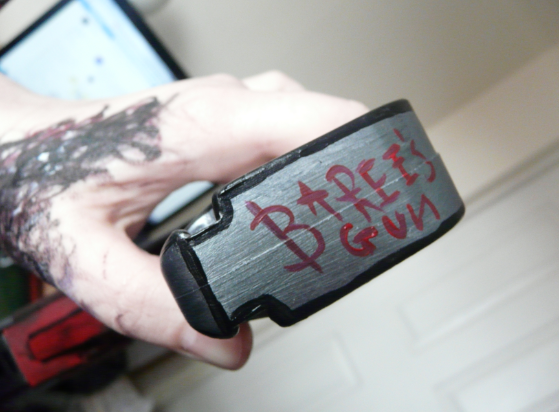
5. (about 9 hours in) Added some random detailing before moving on to the front half of the gun! Just incase he forgets it is his. Picture also shows how I mix paint and clean my brush…
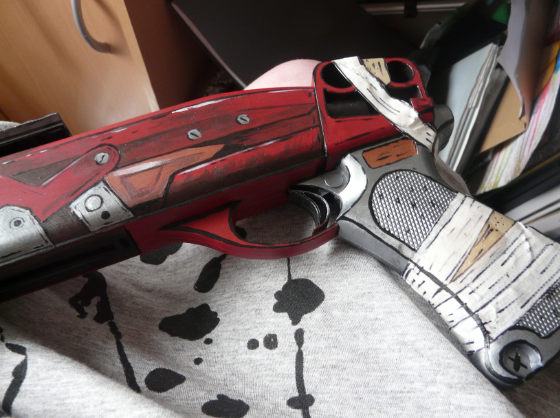
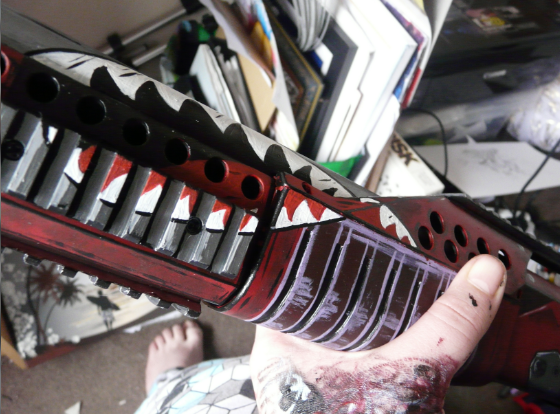
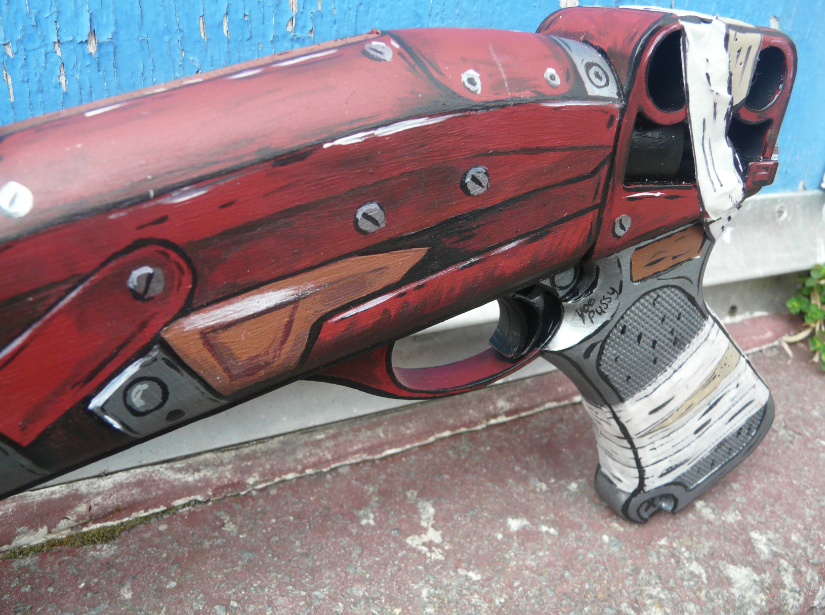
6. (about 10 hours in) Painted the grip of the gun in a stark contrast to the rest of the gun. This is the one bit I wasn’t really sure on, but it stayed because my partner liked it. Also sketched the beginnings of a shark mouth. This is the same on both sides and wraps around the bottom.
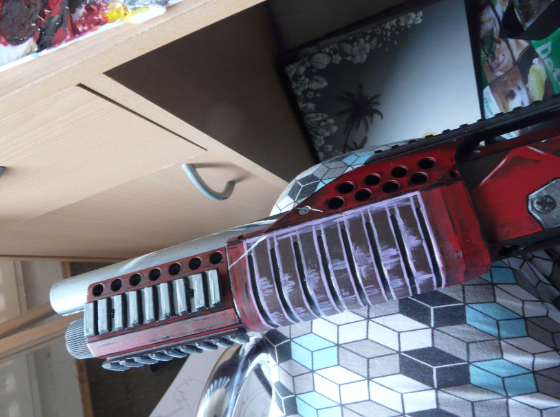
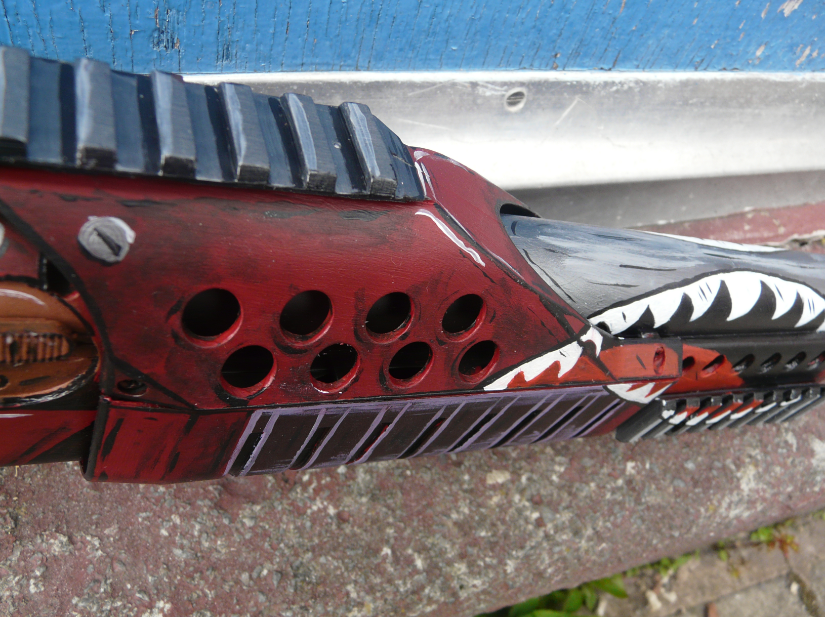
7. (about 13 hours in) Finally finished the mouth. It took a while, what I thought would be the easiest thing to do was actually the hardest part of the process! It took alot of coats of paint to make it remotely smooth.
8. And finally. I just went over the gun adding any detailing I felt was needed until I was happy with the finished result, which I shall showcase now!

More art of mine can be found on my Face Book page www.facebook.com/TheLittlePixiesCraftyCorner
Hope you enjoyed!